
Jump to:
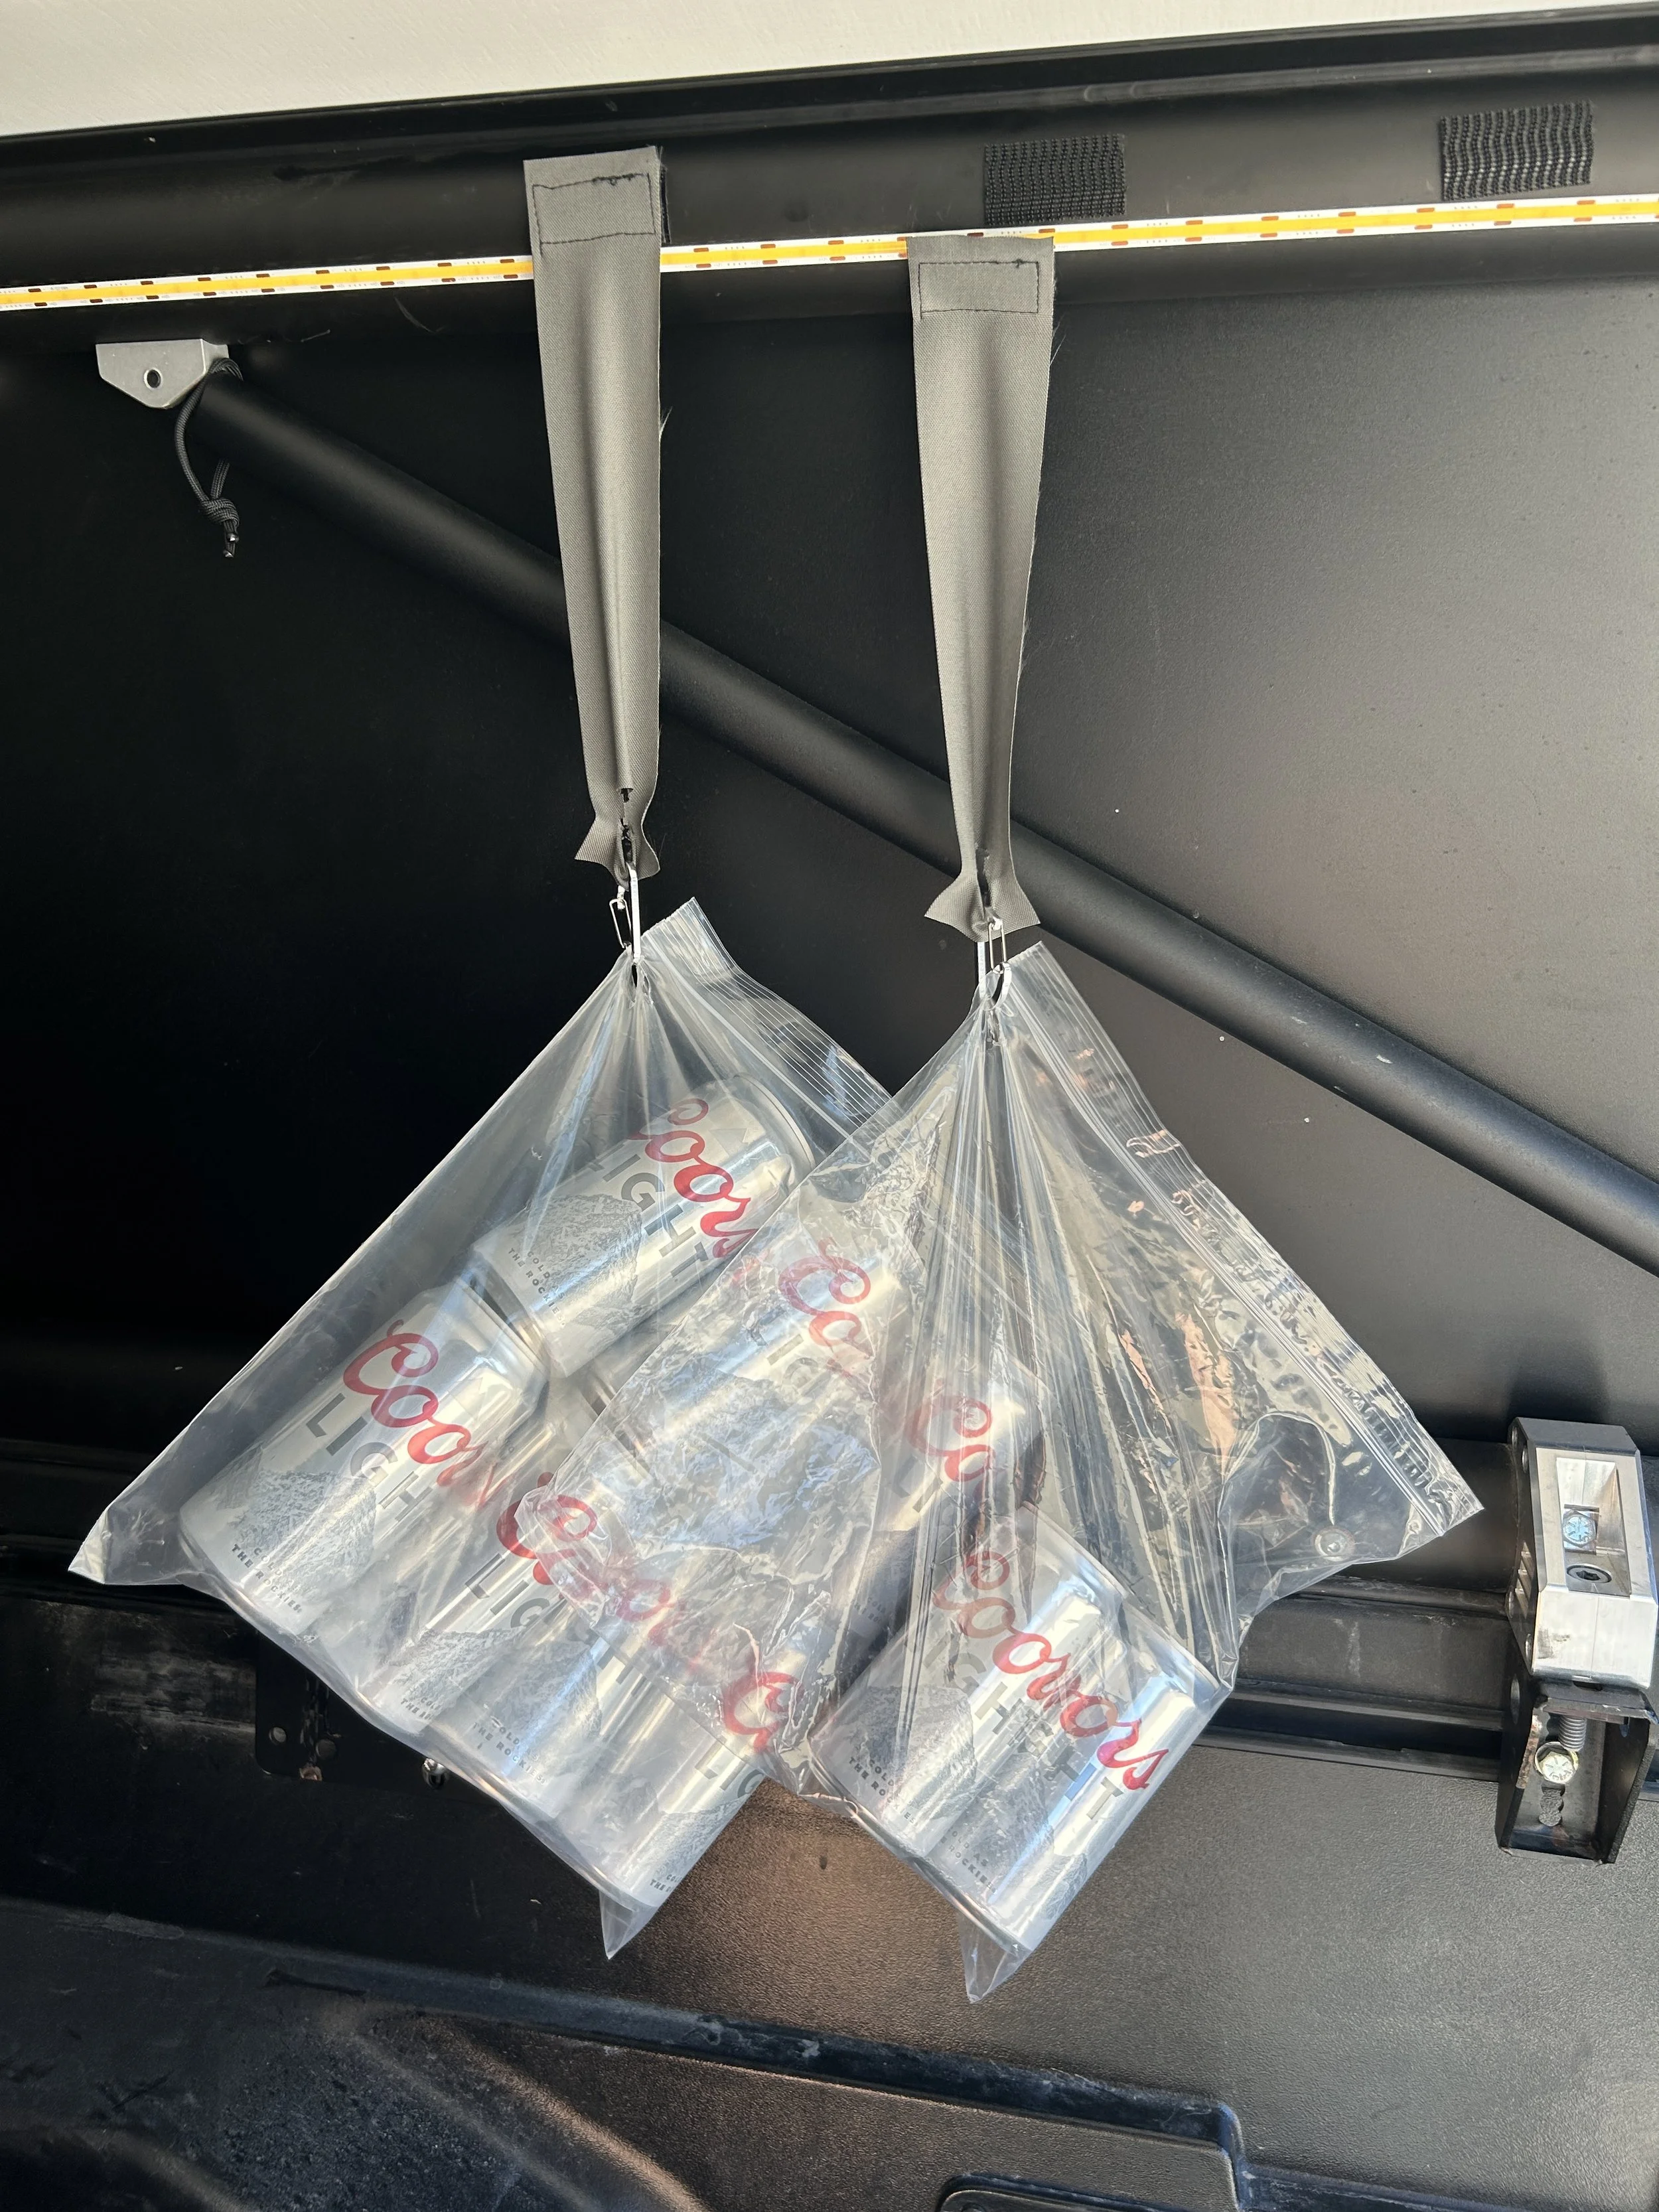
Frame Bag Attachment Note
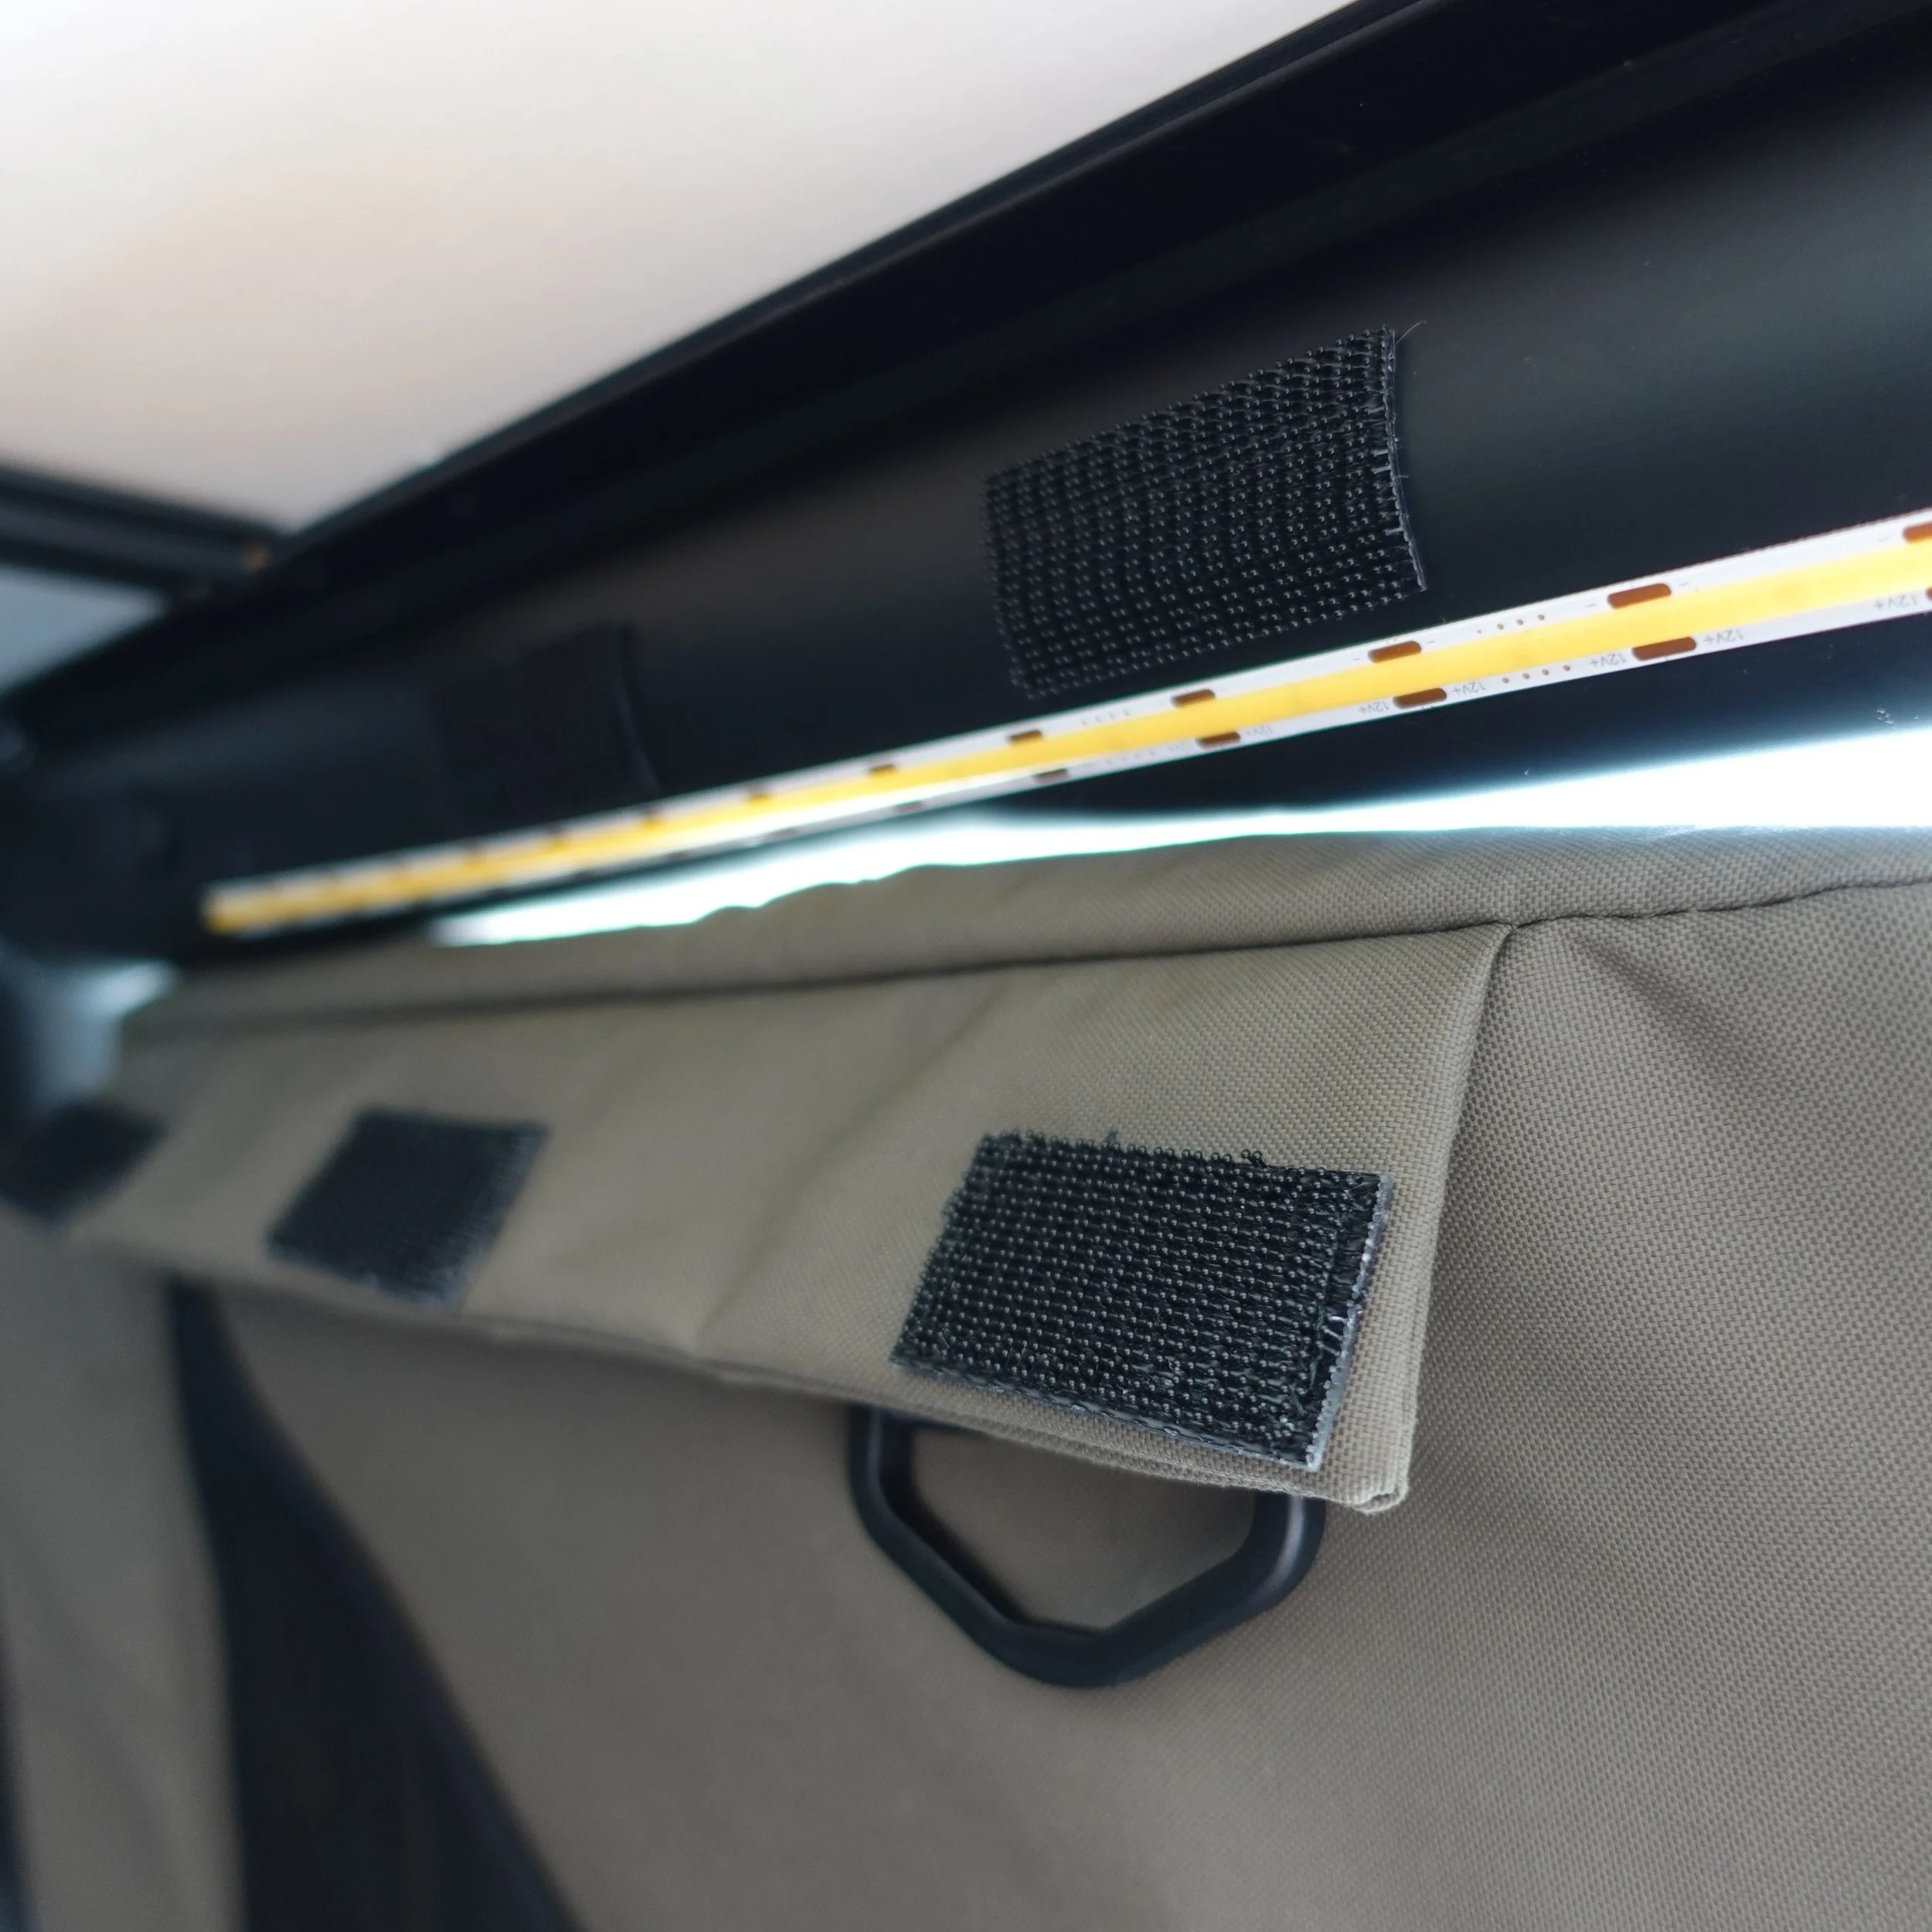
Position the 3M Dual Lock stickies as high up as possible! Work around lighting and L-Track if they interfere.
Positioning the stickies higher up increases their weight bearing ability drastically. During testing, we found a 300% difference in load bearing ability!
Frame Bag
Install Directions
Prep: Wipe down your GFC frame with the provided alcohol prep pads to ensure the 3M Dual Lock stickies adhere to a dust free surface!
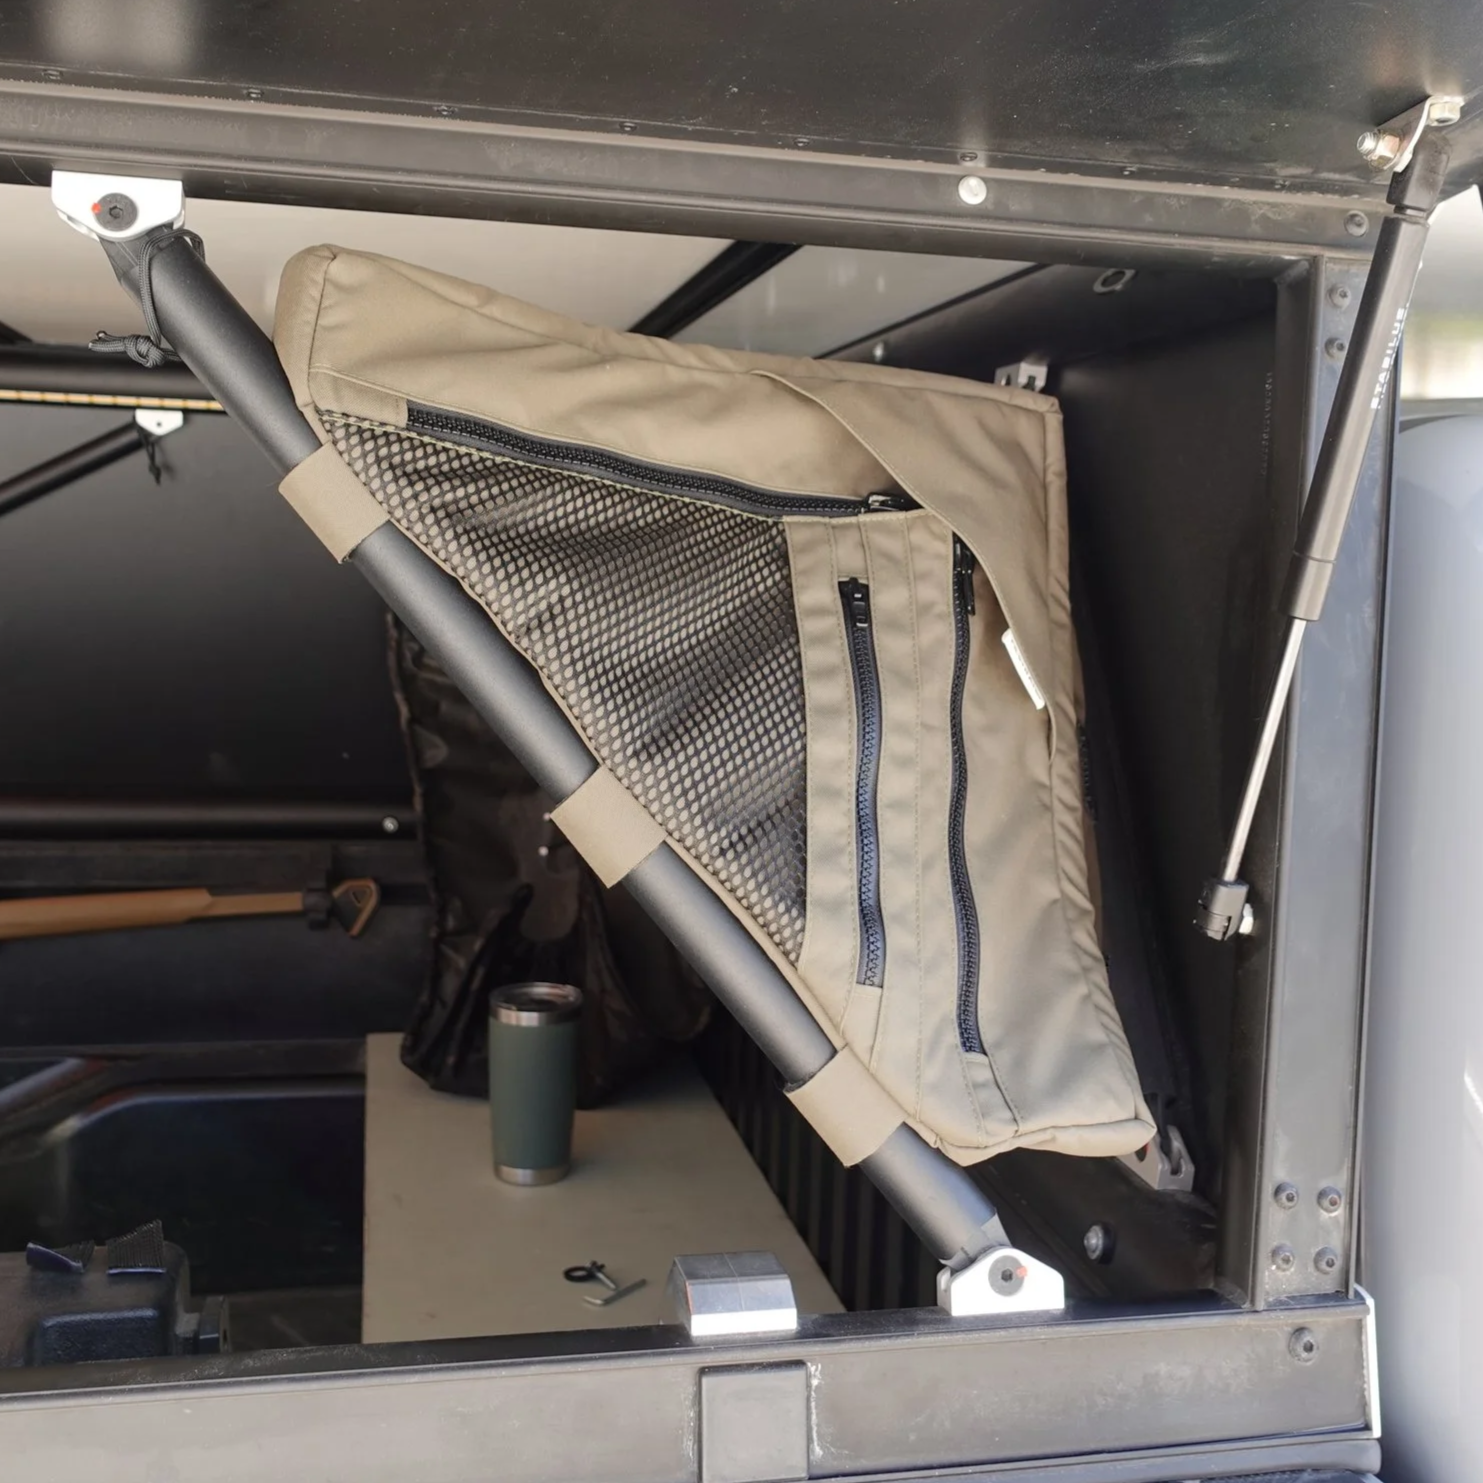
Attach the Frame Bag to the angled circular GFC bar with the Velcro straps.
Tighten each Velcro strap individually to secure to the angled circular GFC bar.
Once you are happy with the fit, start at the top piece and remove the tape from the 3M Dual Lock stickies one at a time and attach to the top horizontal GFC frame.
It is recommended to attach the 3M Dual Lock stickies as high up on the top GFC frame as possible.
This allows more weight to be stored inside your frame bag!
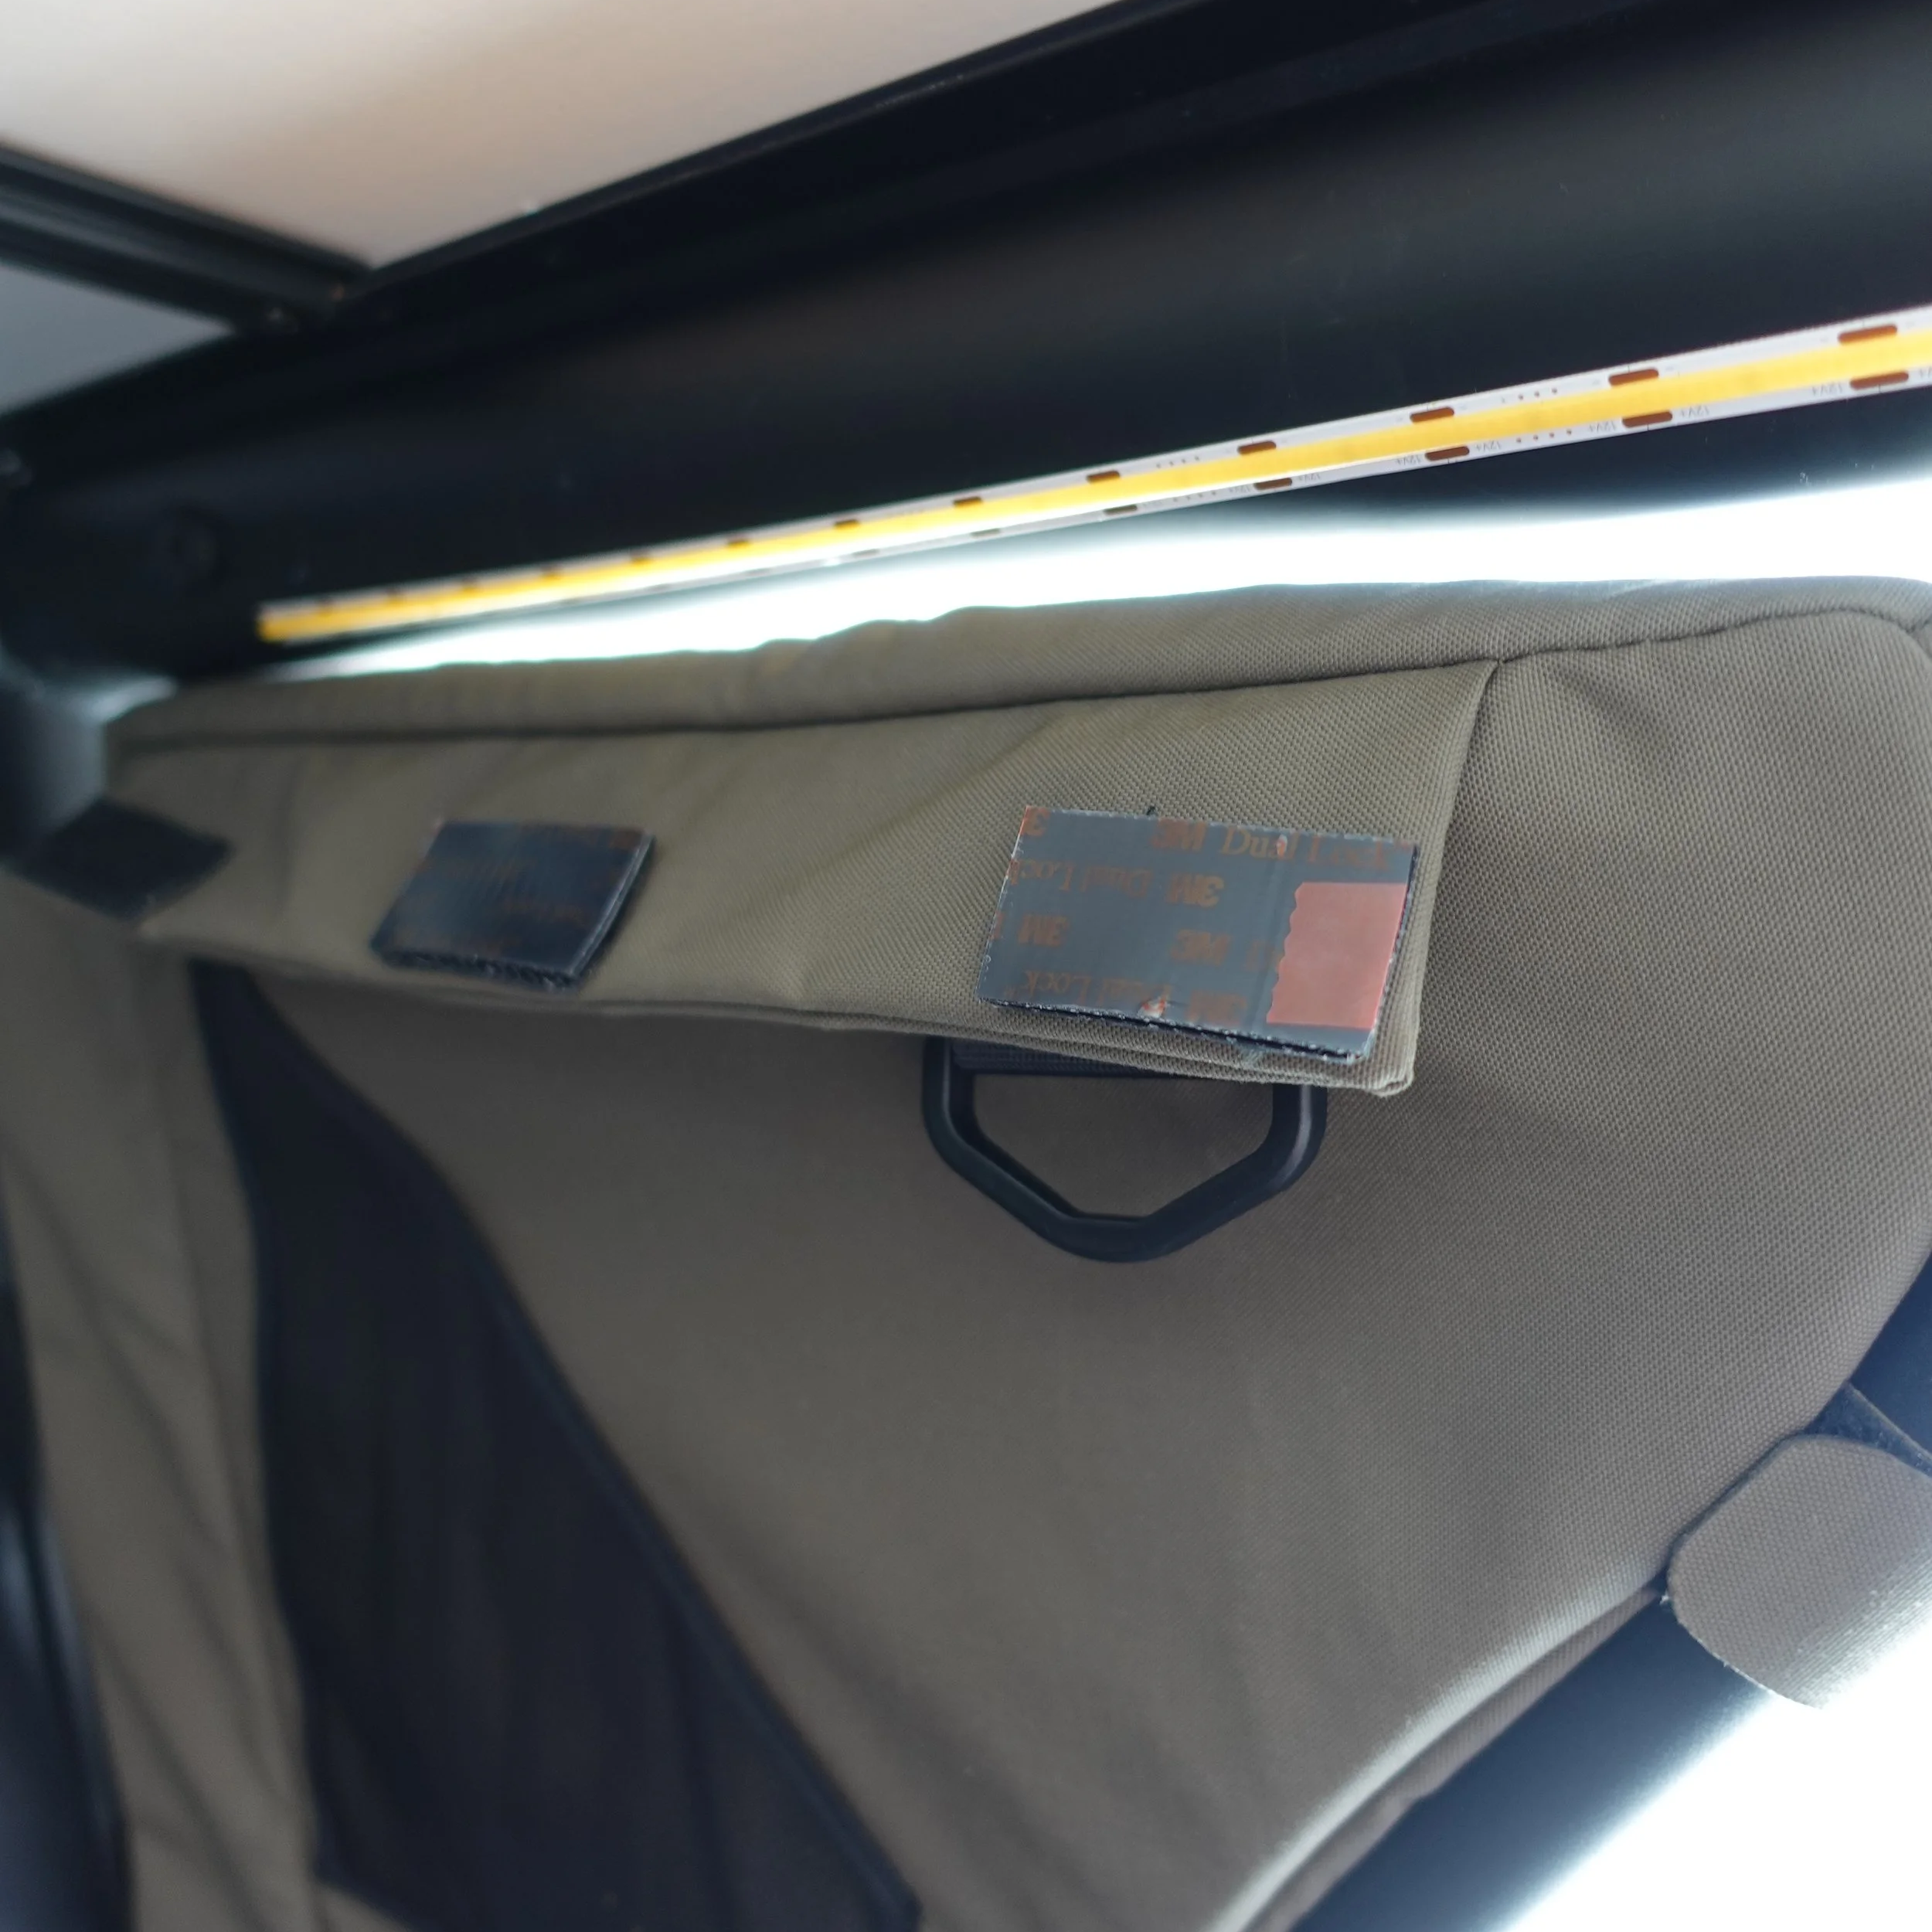
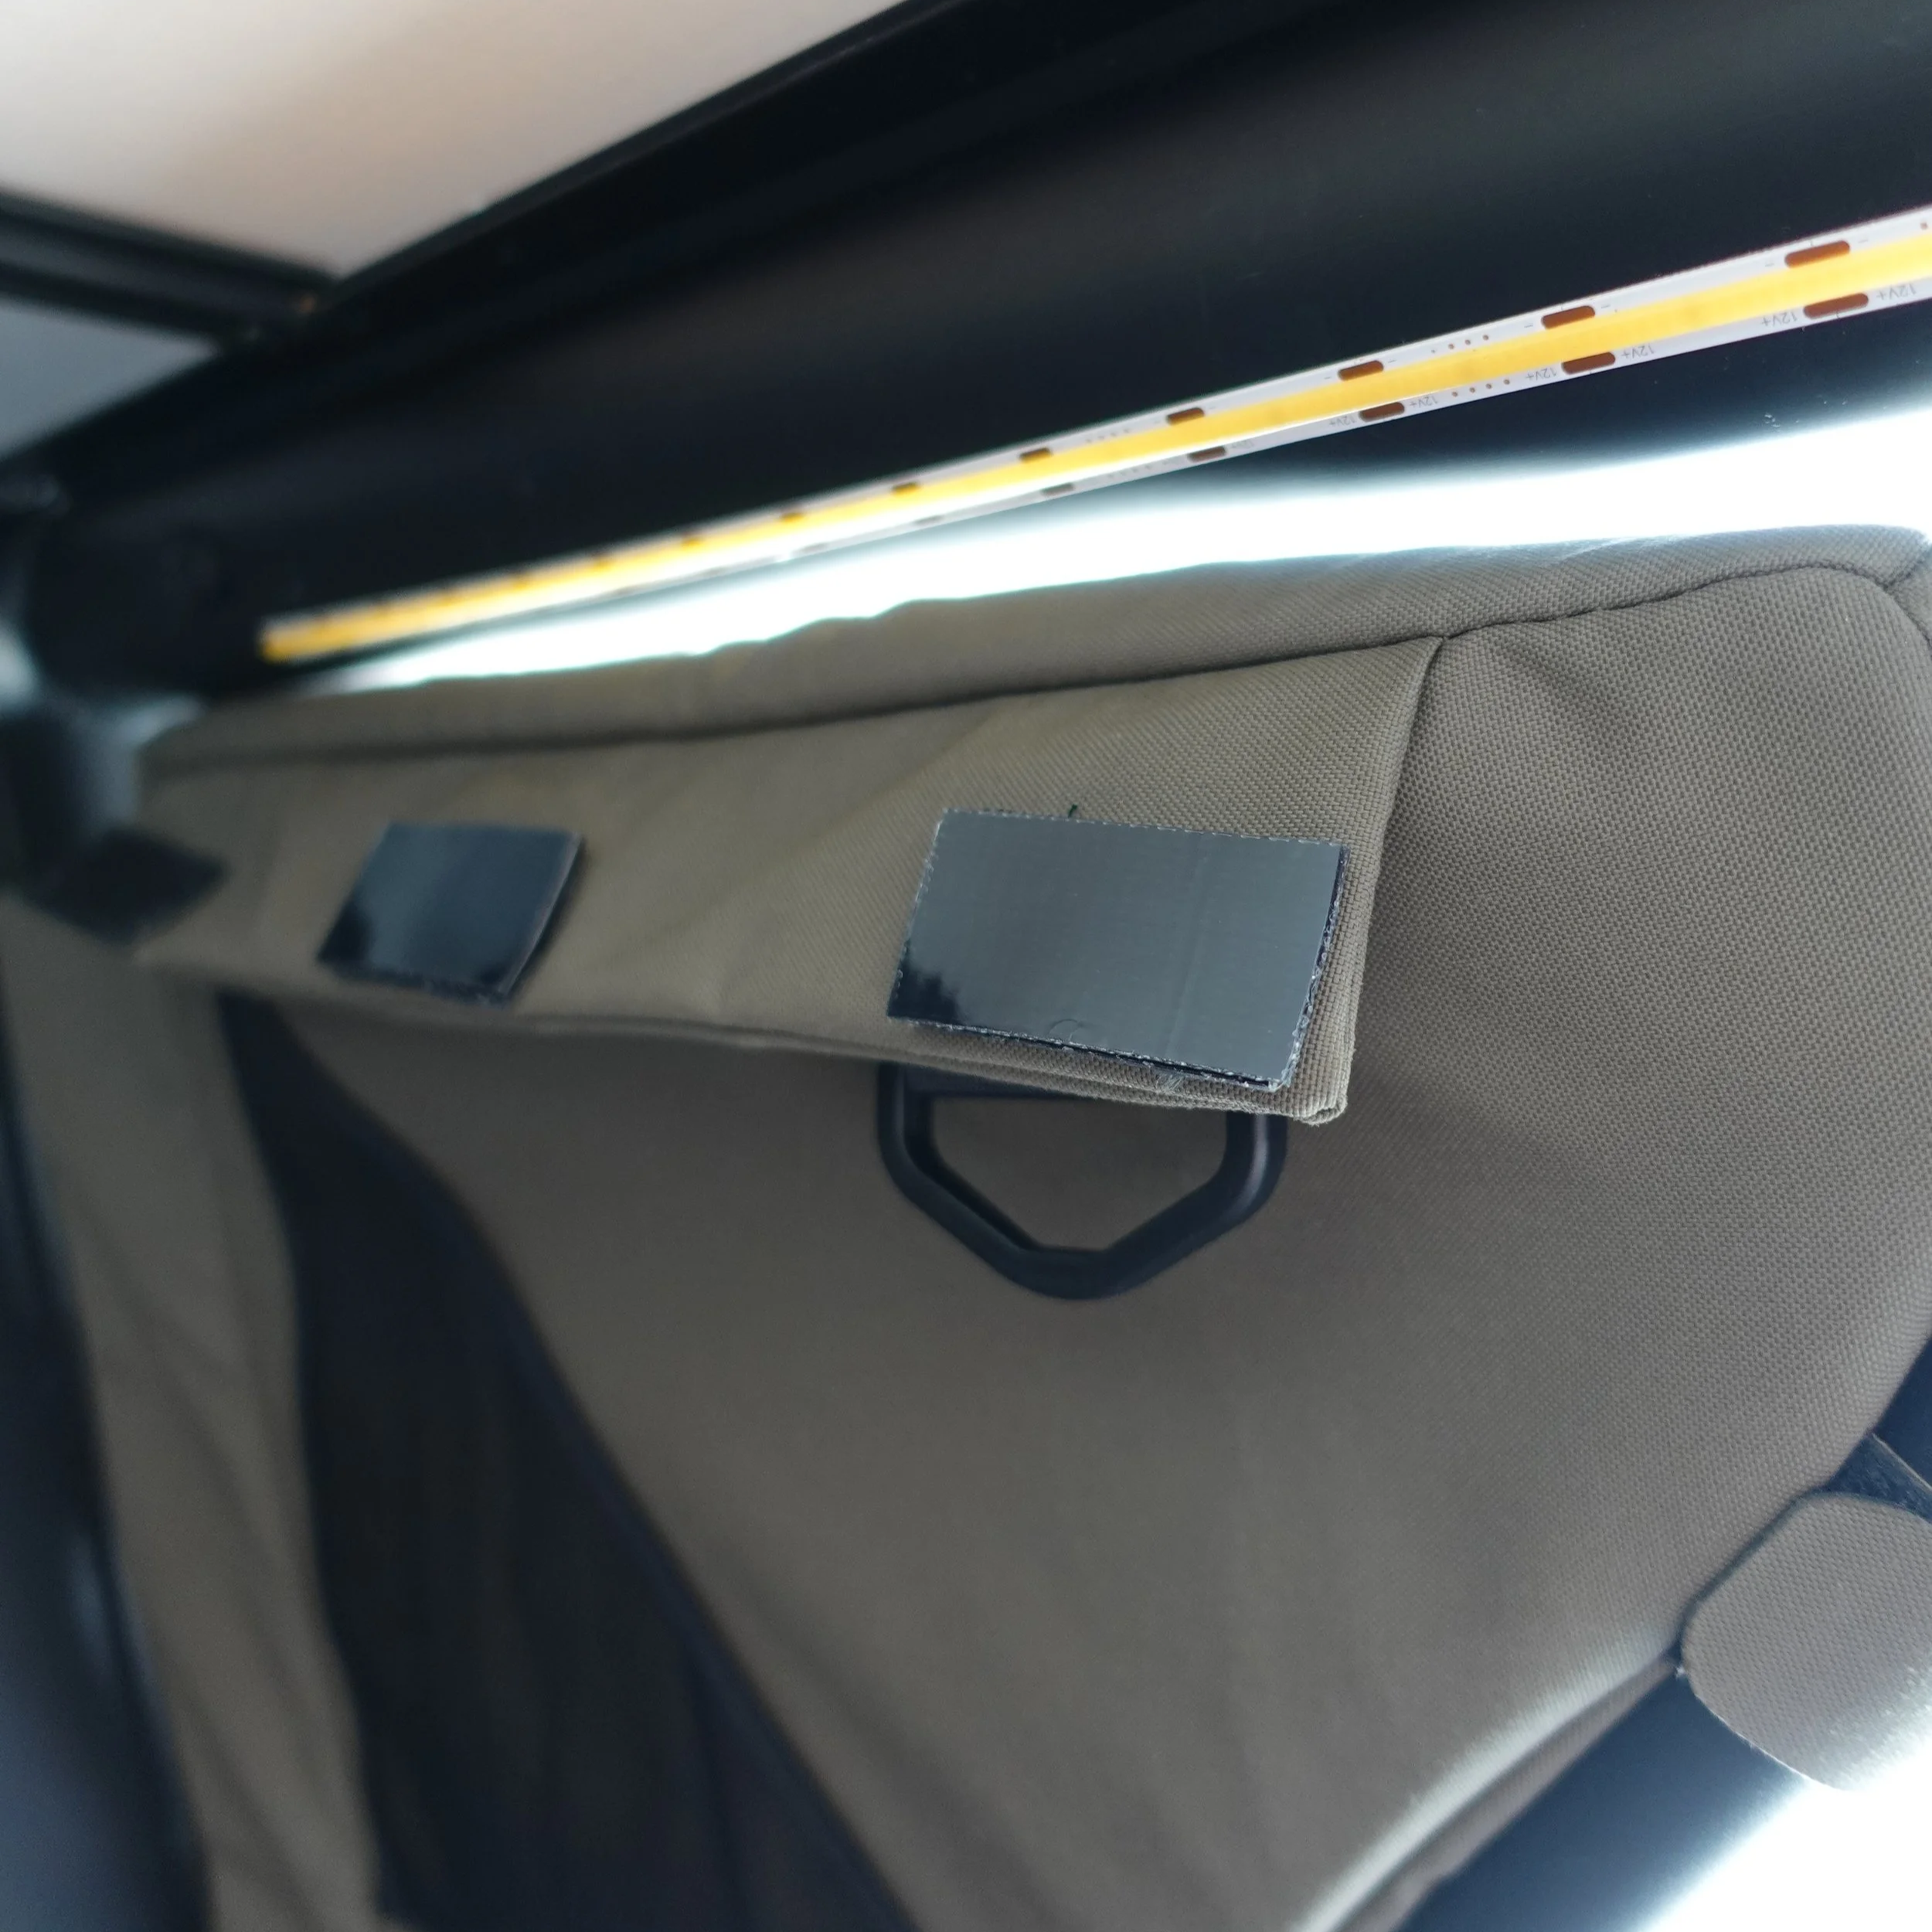
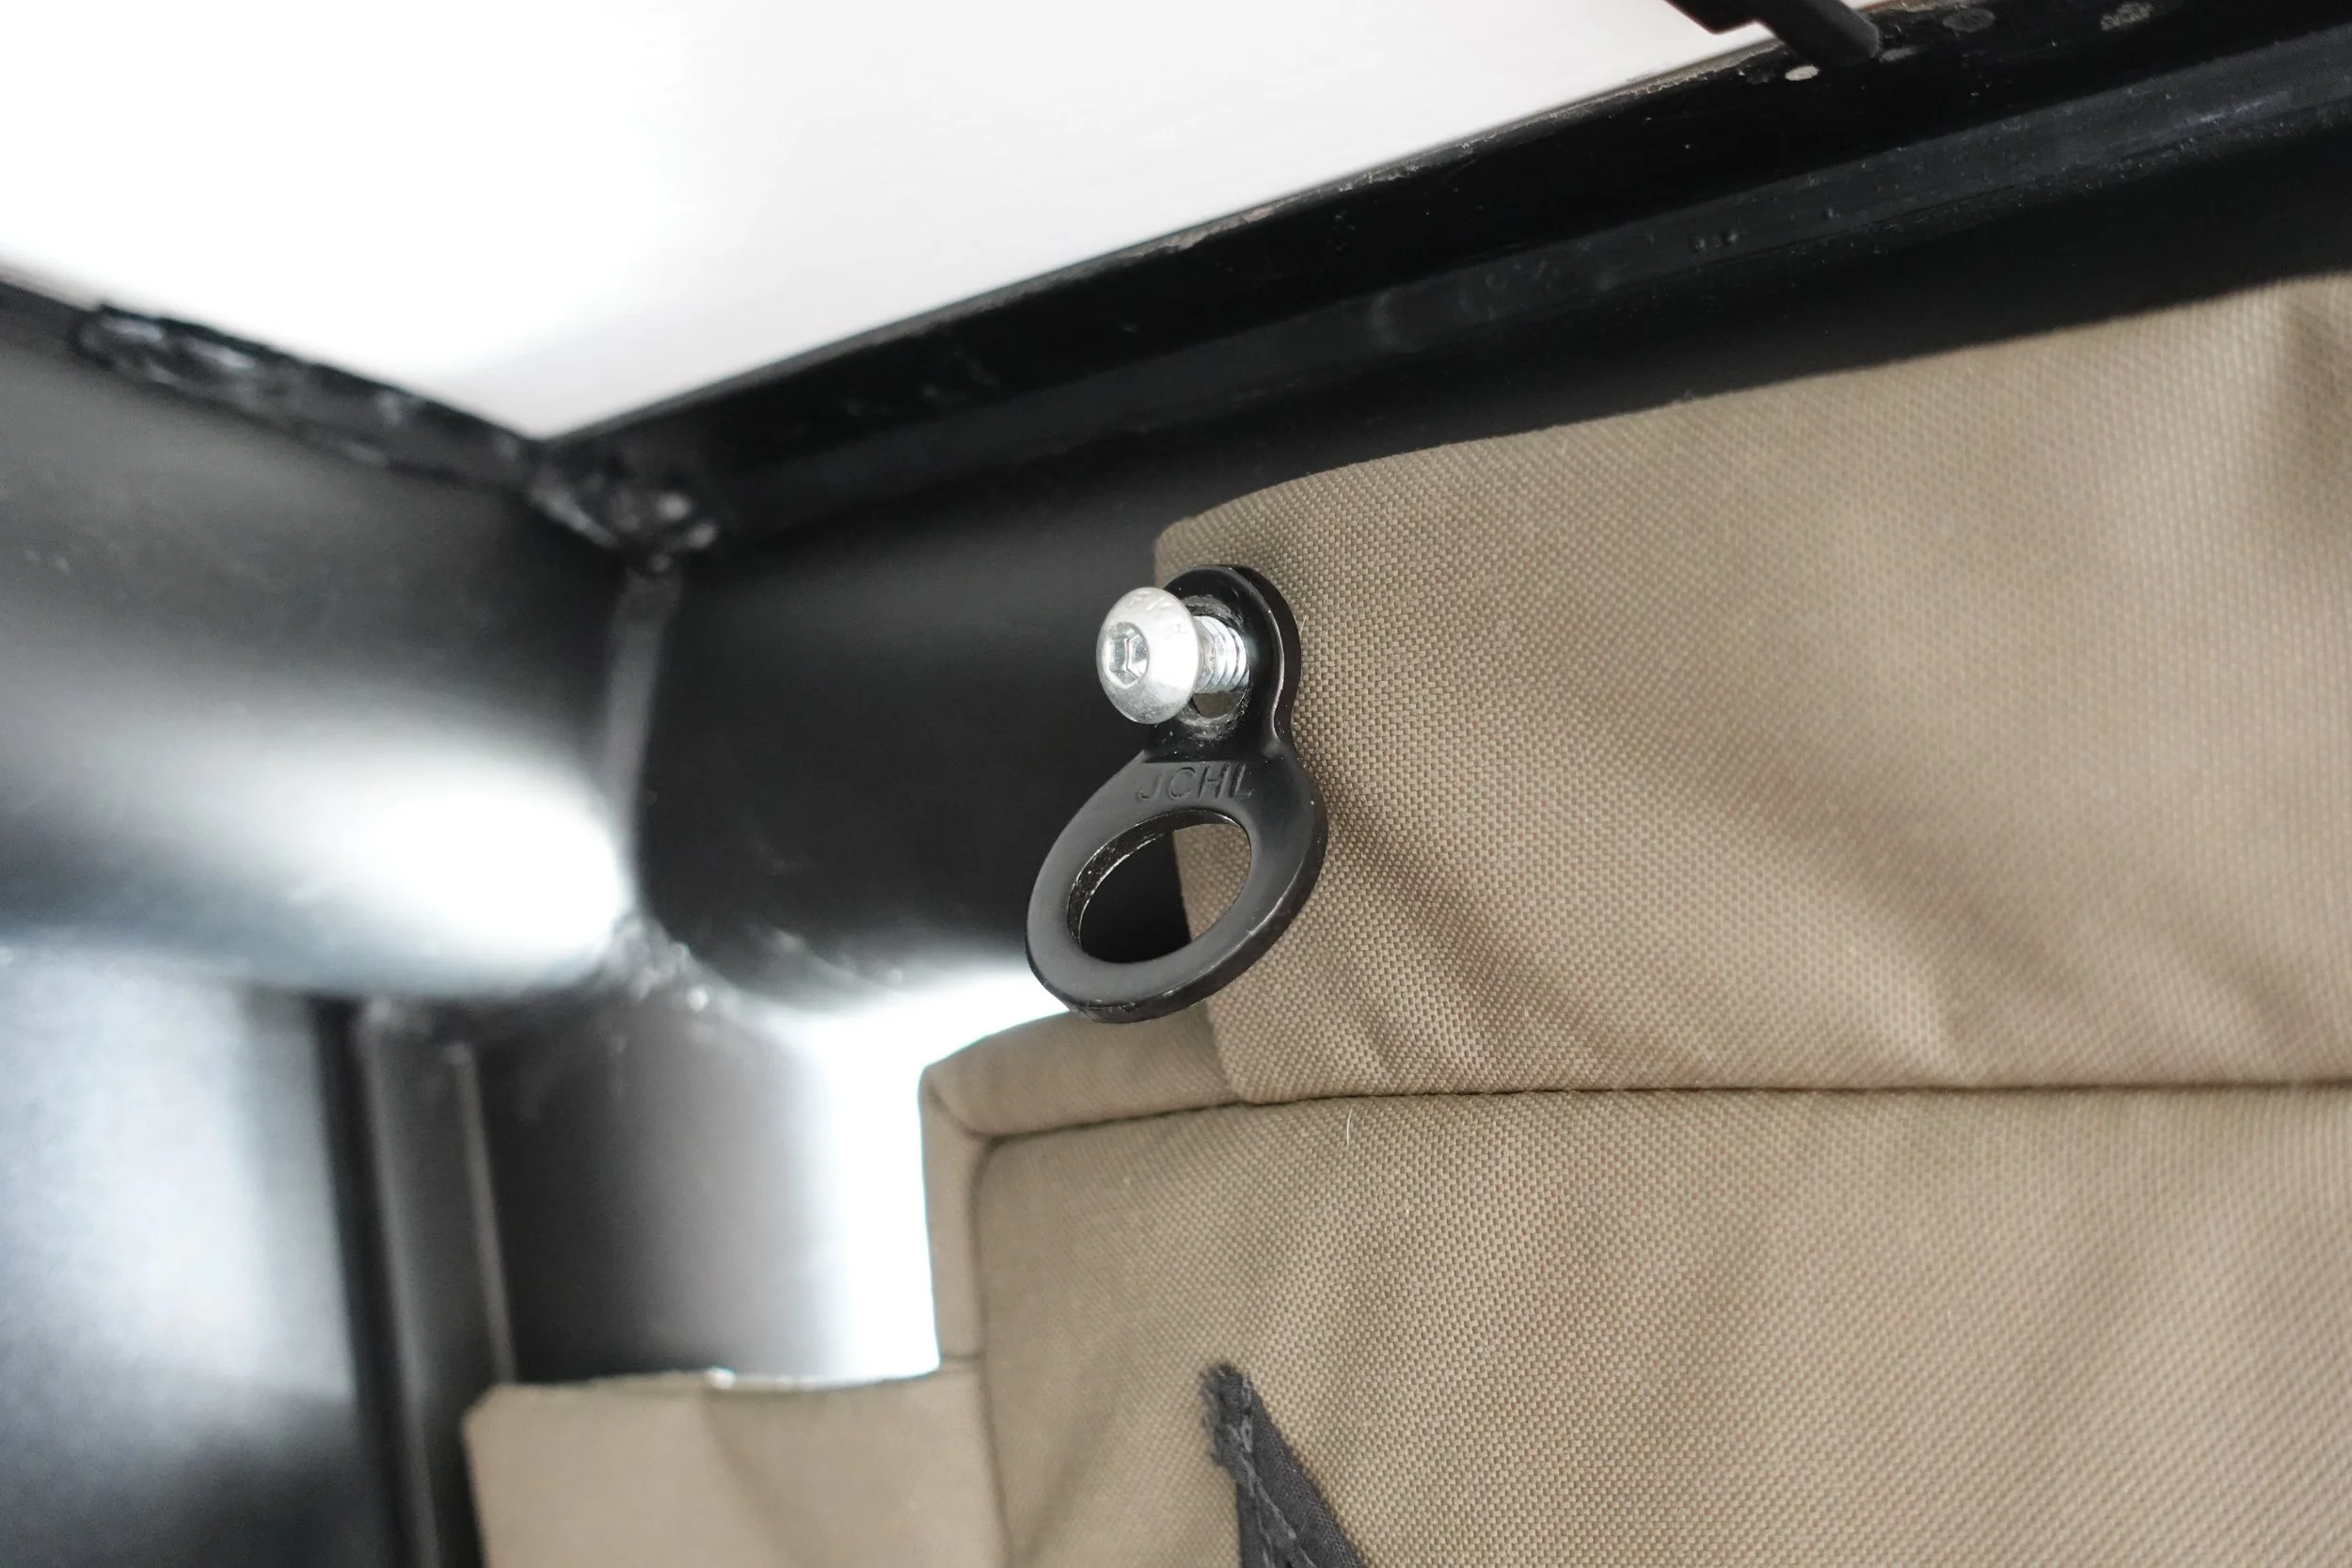
If your bag aligns with a well nut or rivet, attach it! This provides the best way to mount them.
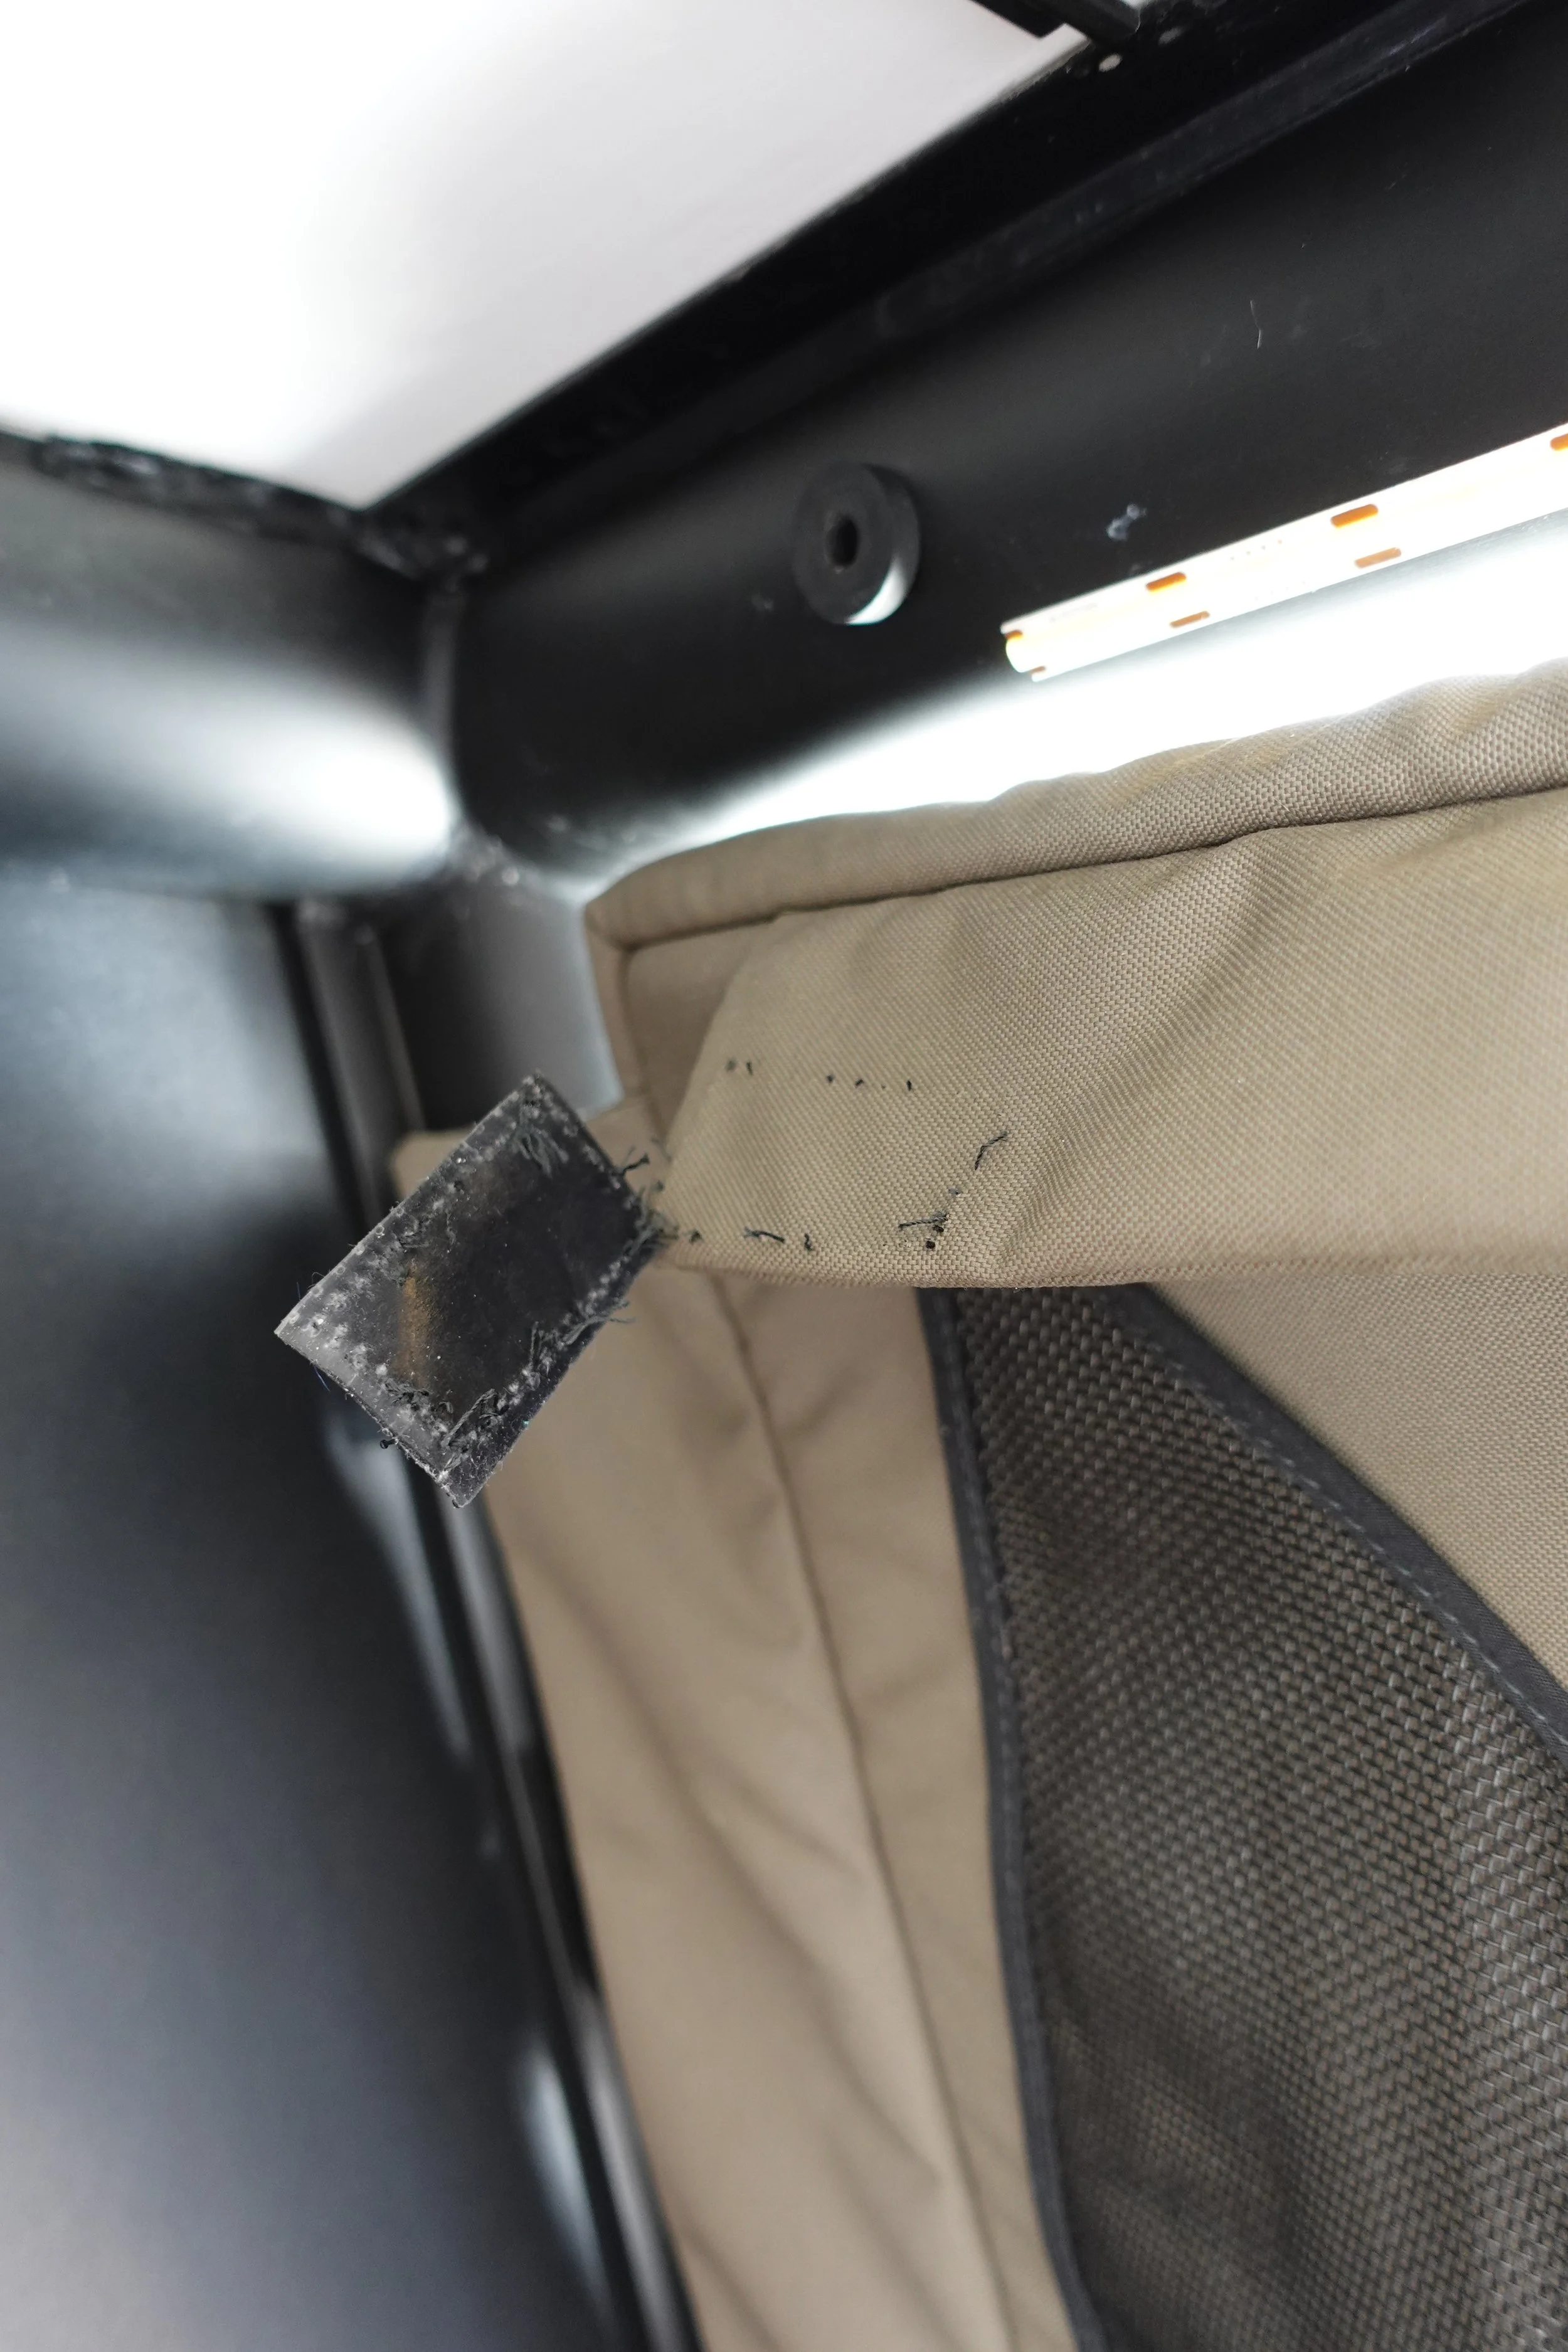
If a 3M Dual Lock sticky aligns with the hole, simply remove the 3M Dual Lock sticky by gently cutting the threads.
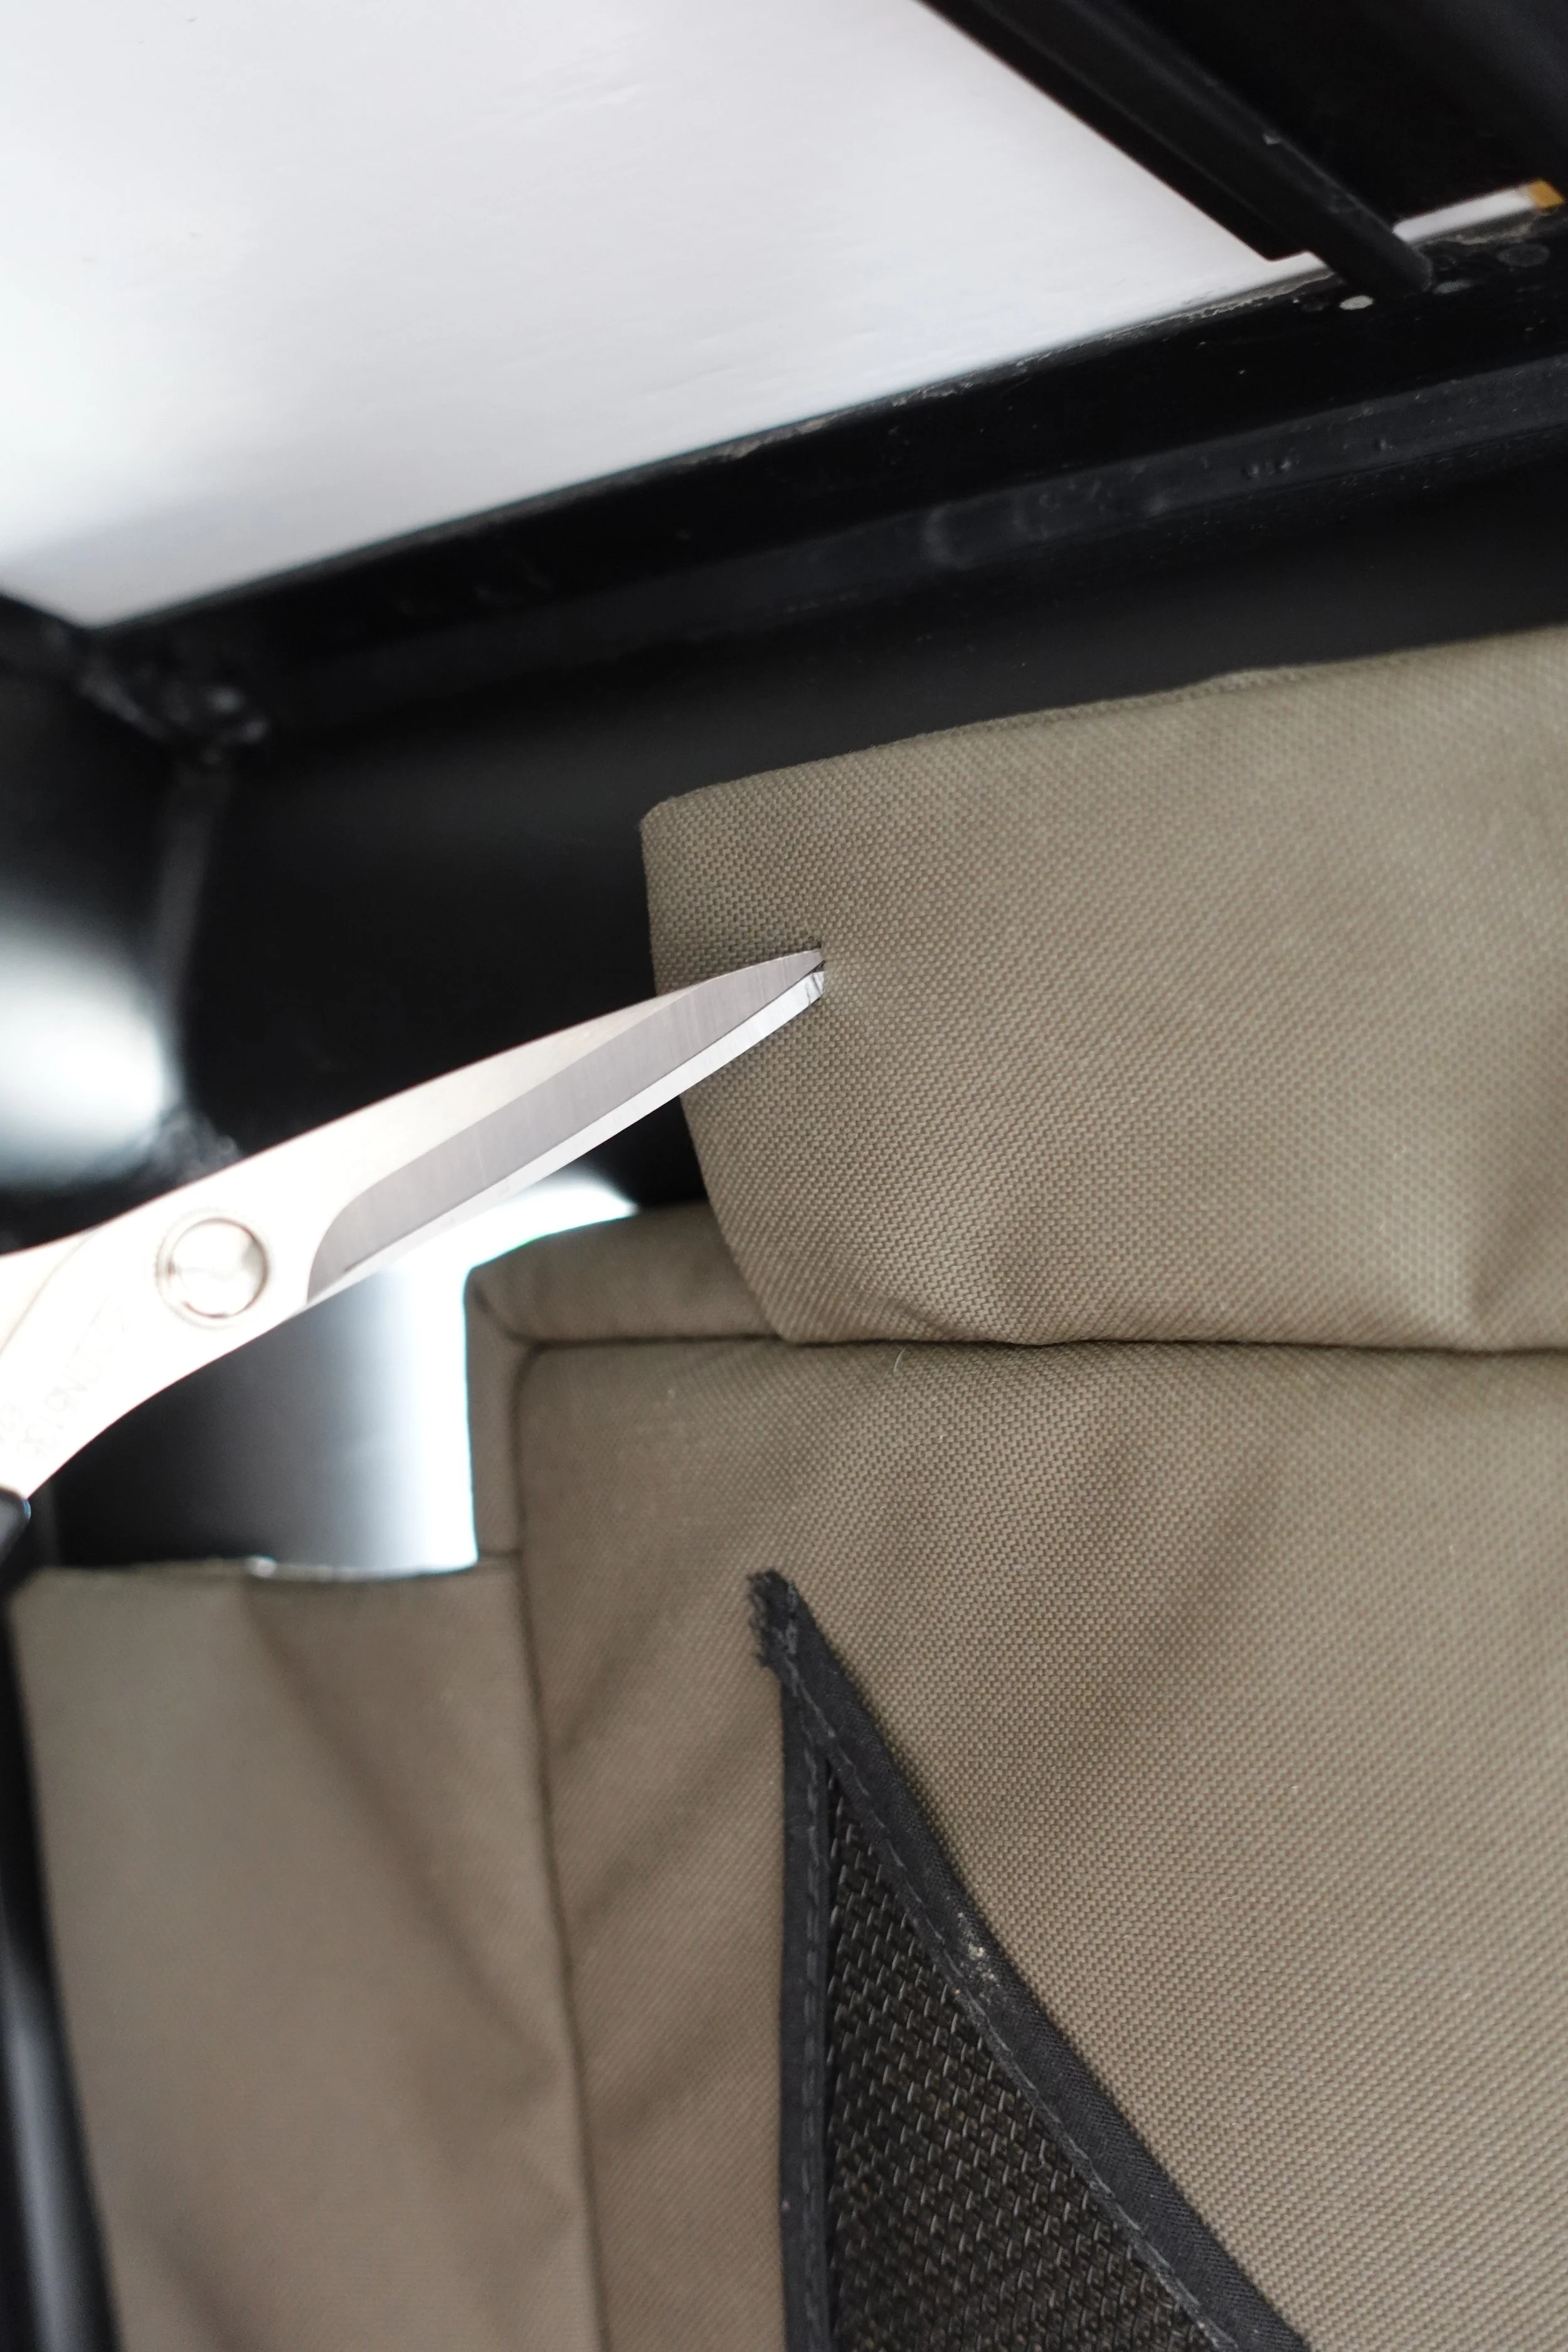
Then cut a small hole in the fabric that aligns with the GFC well nut or rivet.
Add a washer and thread a bolt through the hole.
Repeat the 3M Dual Lock attachment process on the side vertical frame and you are good to go!
Note: 3M Dual Lock stickies take 24 hours to fully cure, do not fully load until then
Pillow Hammock
Install Directions
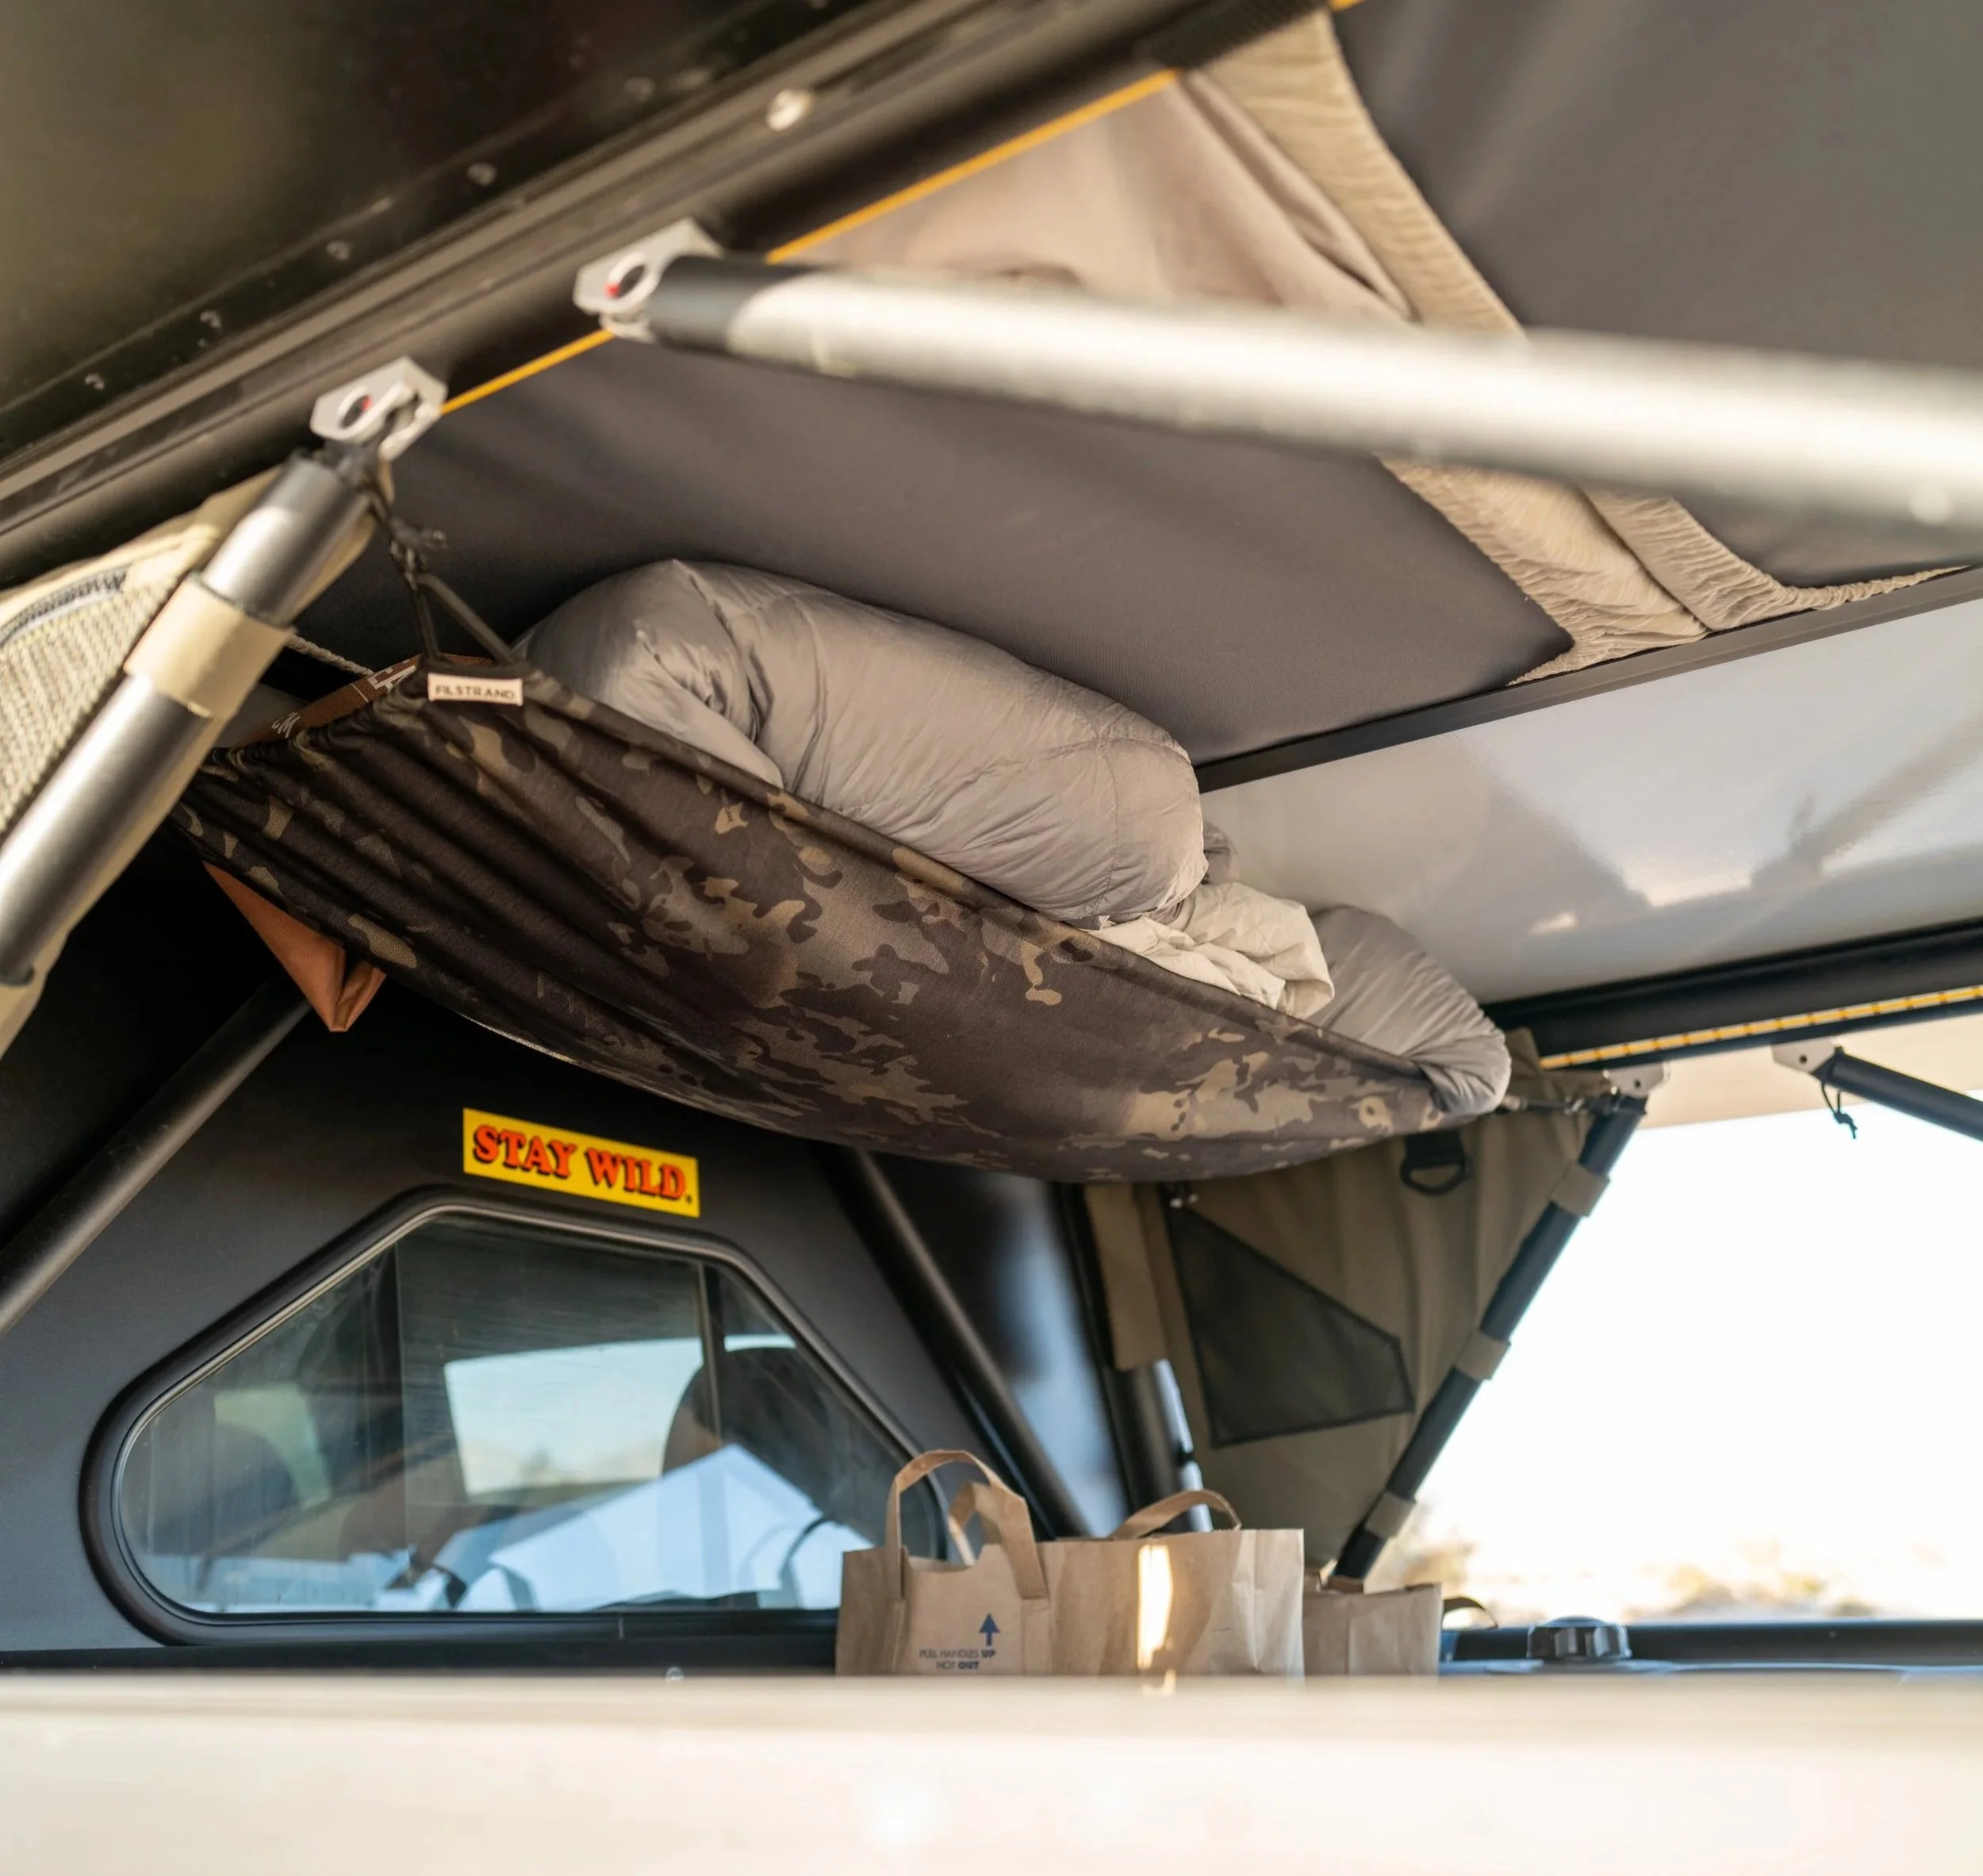
1) Screw the two provided circle fasteners to each of the top front well-nut attachment points on the front top rails. These are the ones closest to the window/cab.
2) Create a loop (overhand loop knot) with the supplied paracord around the top of the triangle frame bar to create the rear attachment point. Do on both sides.
3) Clip the S-biners on to the circle fasteners on the front attachment points.
4) Clip the S-biners to the paracord loops. You should have to pull on the bungee fairly hard!
5) If loose, undo the bungee cord knot and tighten to your preference and re-attach.
We recommend it pretty tight. You can unclip a few sides and adjust to get it tighter. Once you get it where you like, cut the excess bungee and burn the end to reduce fraying.
Ceiling Pocket
Install Directions
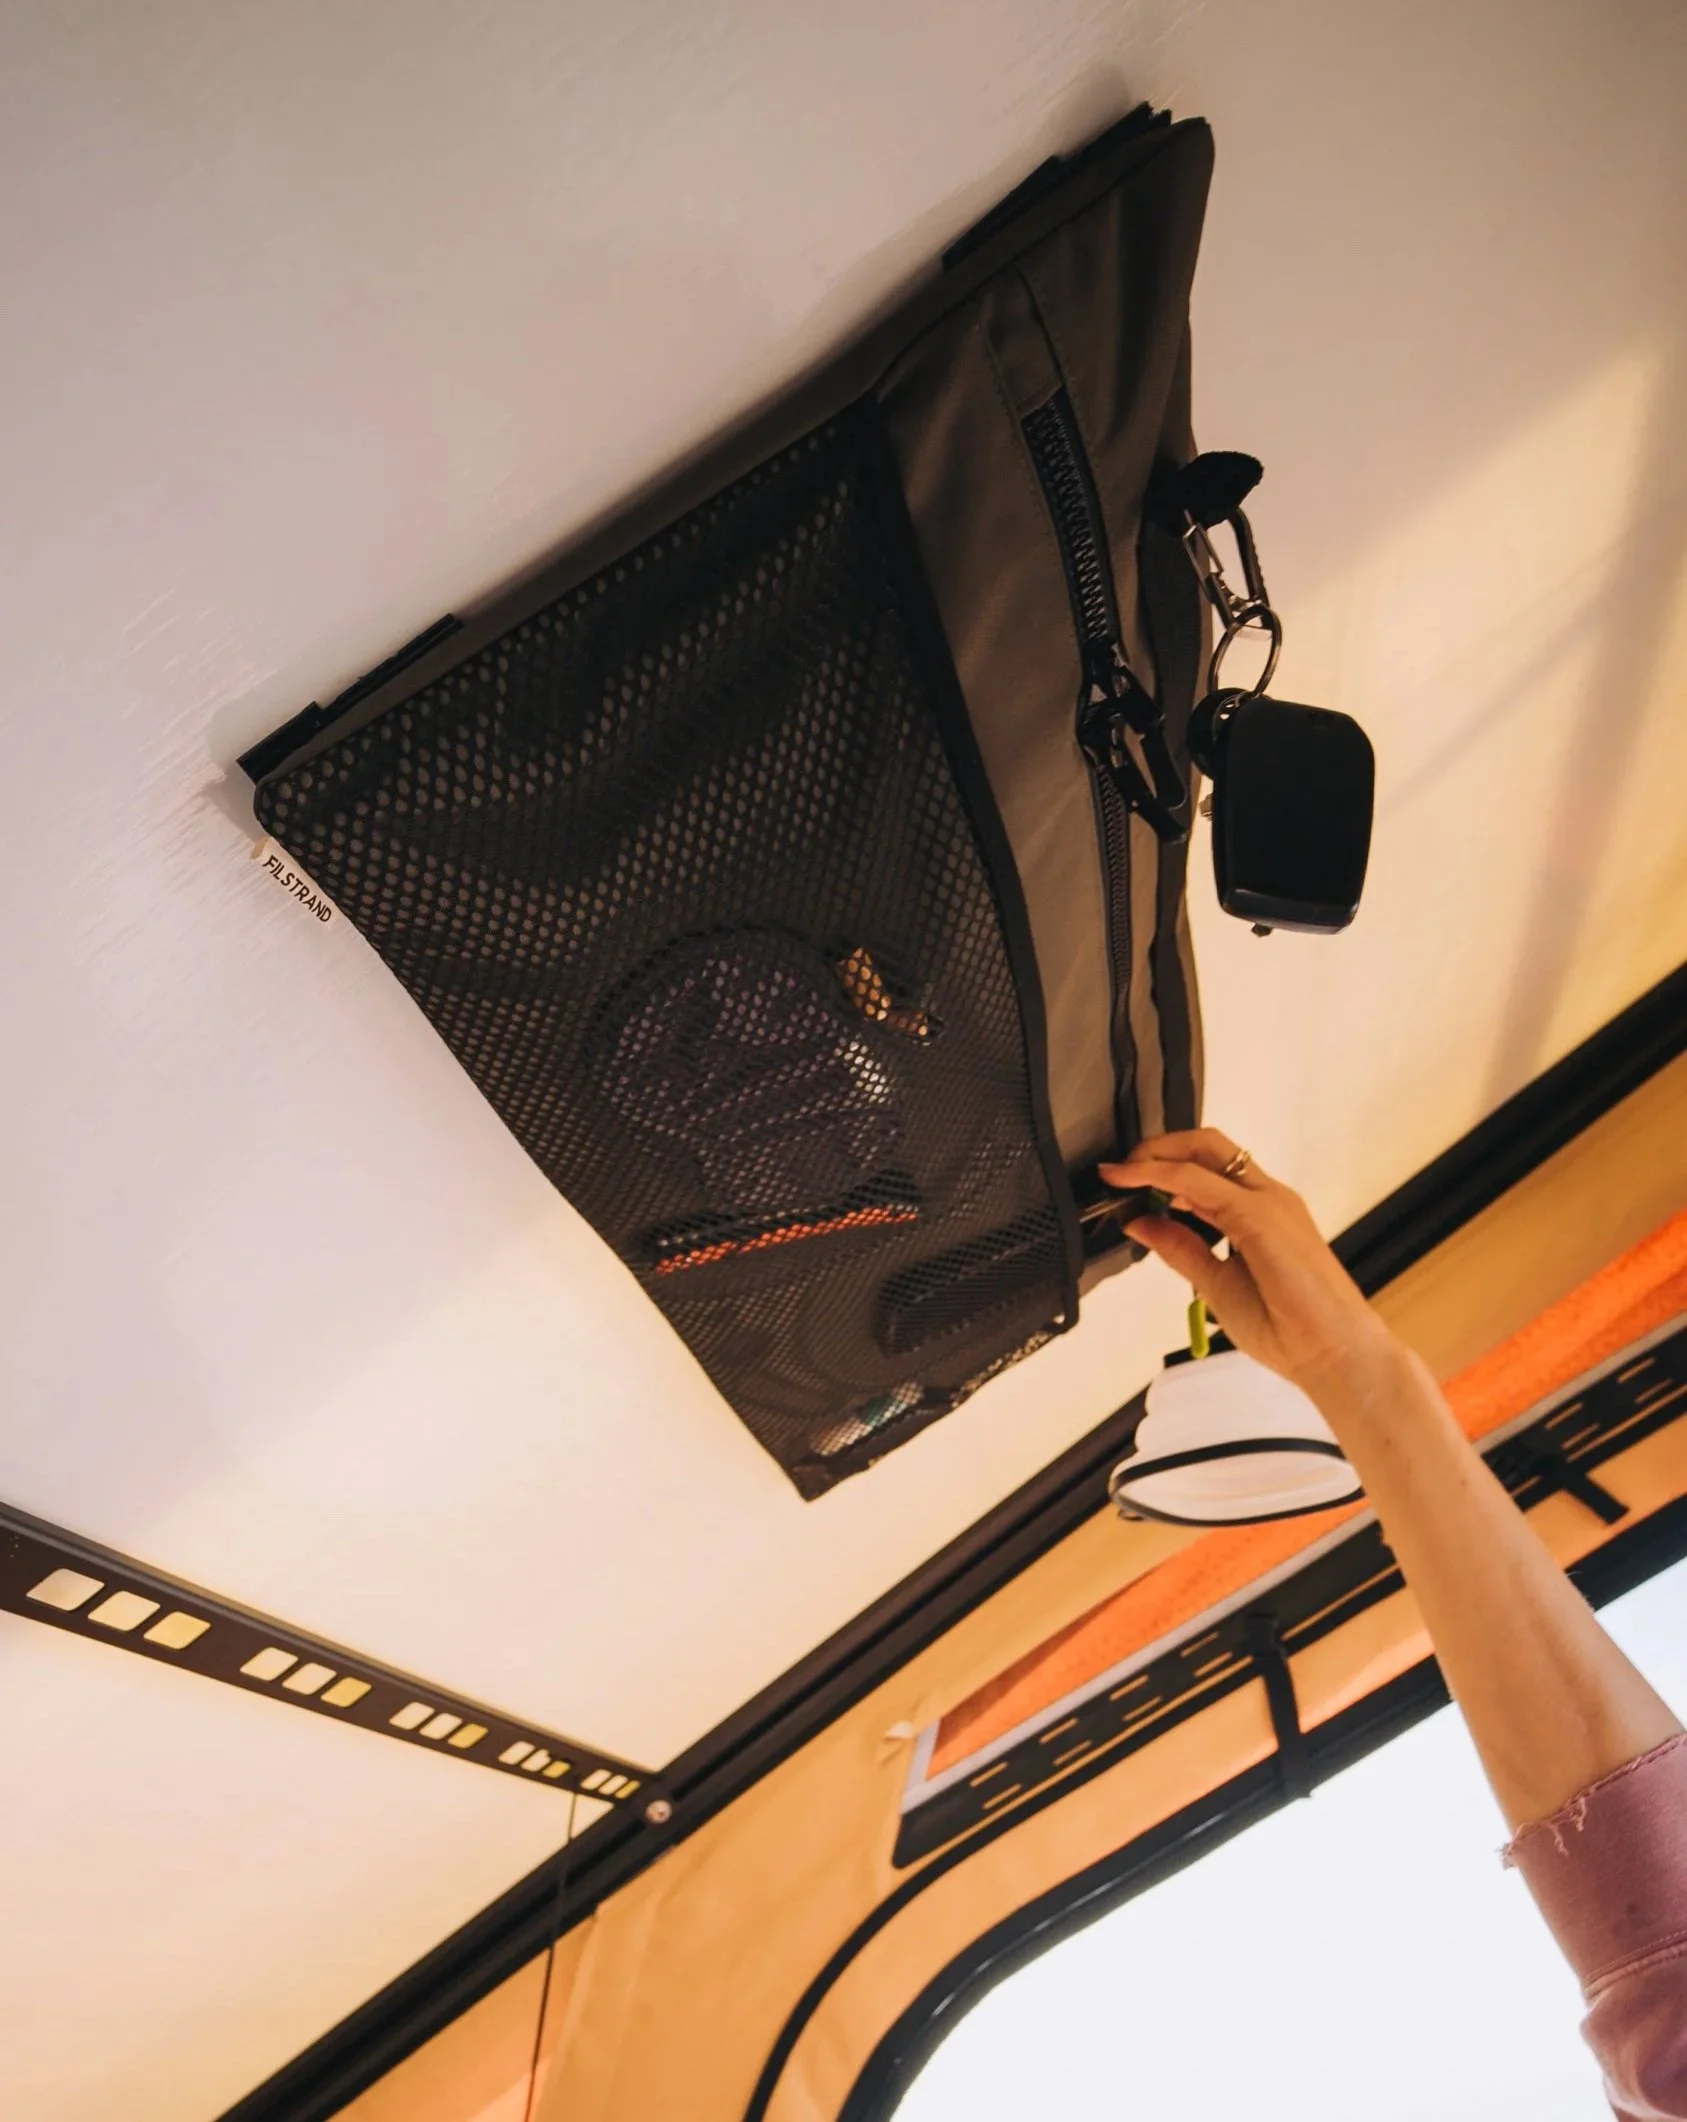
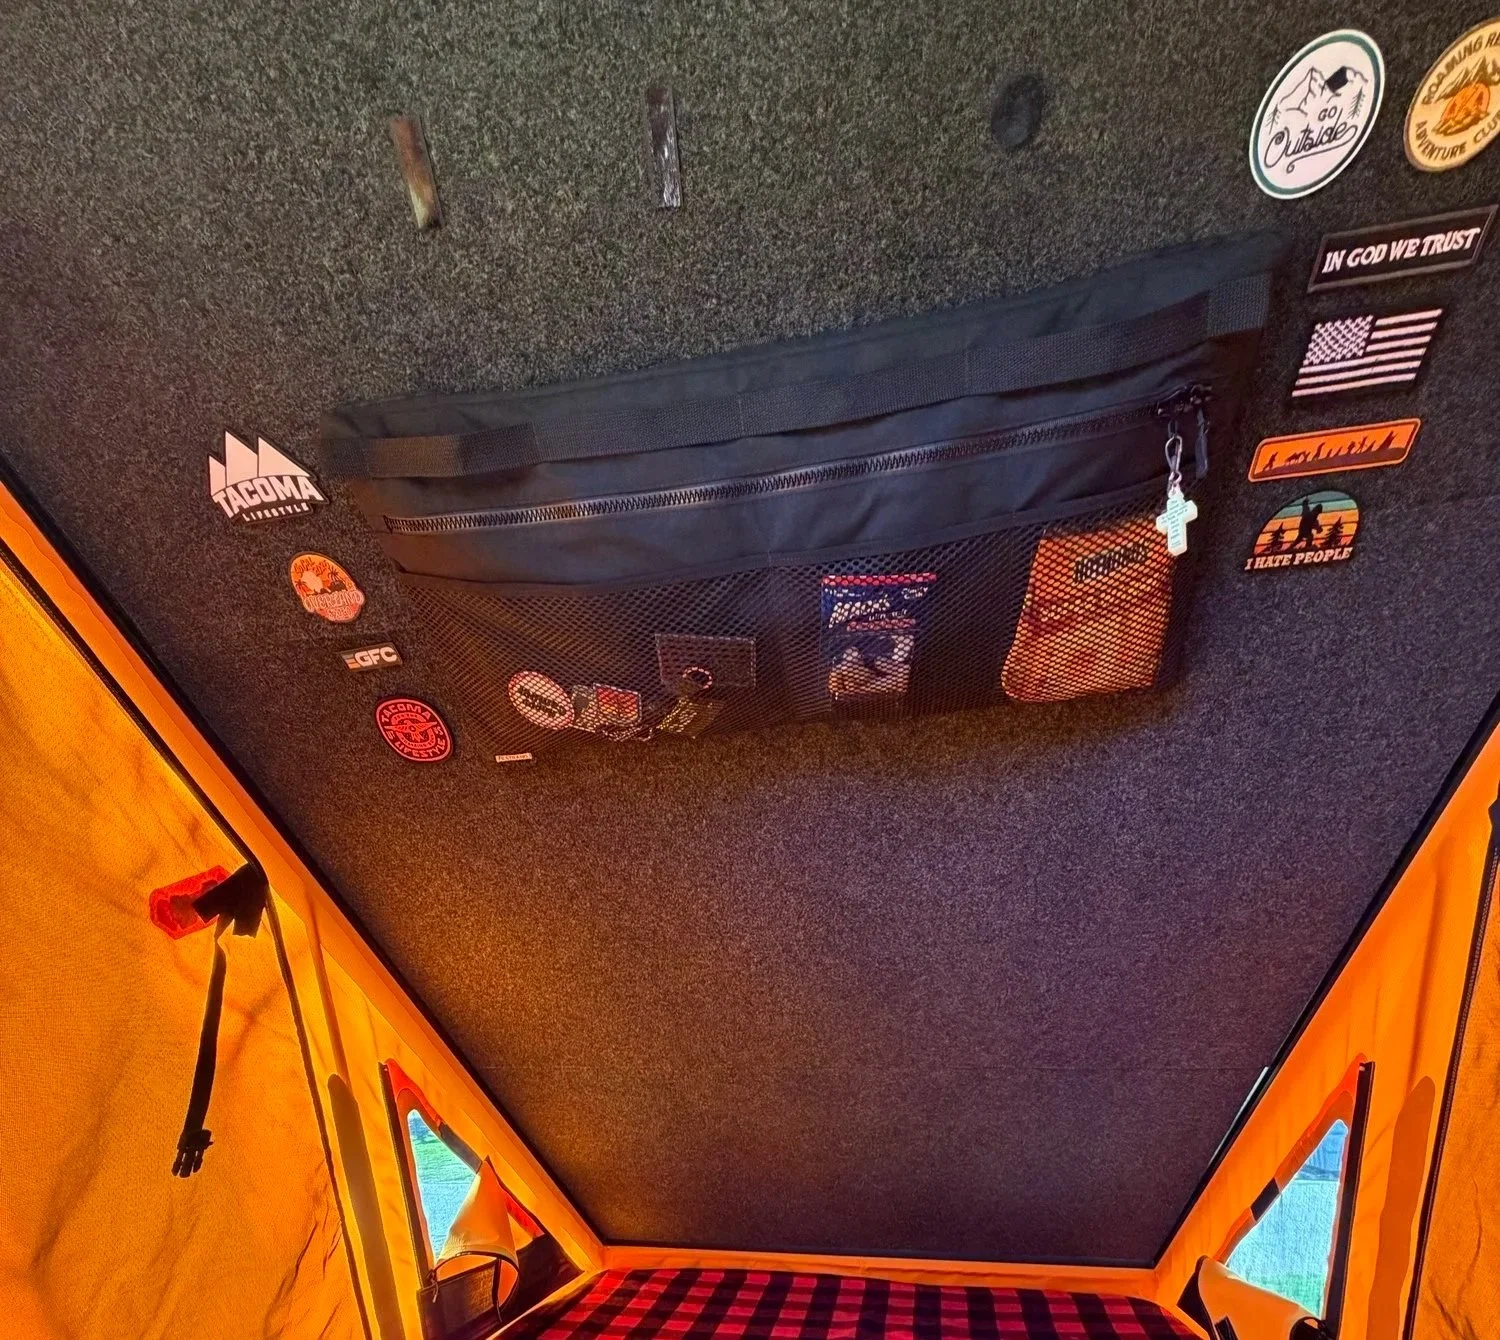
With Headliner:
Press onto your headliner and you are good to go!
Without Headliner:
1) Place Loop side Velcro on the sewn-in Hook side Velcro on the Ceiling Pocket, do not remove the adhesive tape.
2) Test position the bag inside your tent.
3) Wipe down tent ceiling with the provided alcohol prep pad to clean the surface.
4) Starting with the top strip, remove the thin film to expose the sticky side of the Loop Velcro. Press the bag into position.
5) Repeat for the other adhesive strips while keeping the Ceiling Pocket attached to the tent to ensure it stays in position.
6) Once all the Loop Velcro is secured to the tent top panel, gently remove the Ceiling Pocket and firmly press on each Loop Velcro strip to ensure they are attached to the tent top panel.
7) Attach the Ceiling Pocket and enjoy!